How to Winterize a Camper? [Actionable Tips]
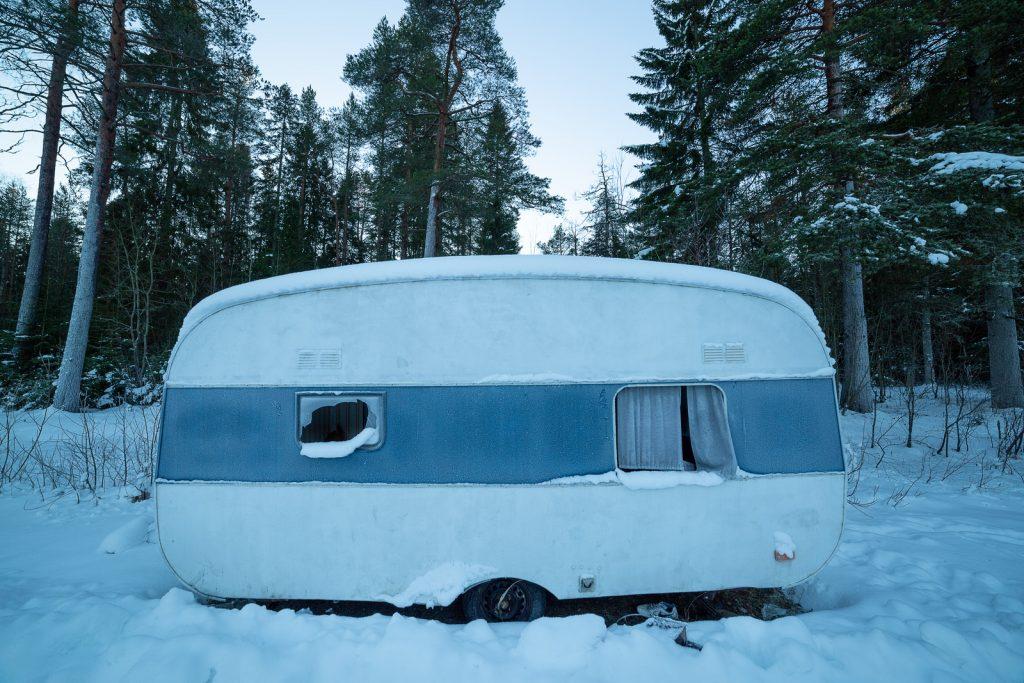
Cold weather can be harsh on everyone, but it can hit even harder when it comes to RVs. They tend to stand out in the wilderness all day and night, taking the cold directly.
Why is that? Because there is plenty of plumbing and areas where water can stay or seep into. And with cold, it expands significantly when it turns into ice. Therefore, you need to winterize RV or end up in financial jeopardy with the fixes and repairs.
You can hire an RV winterization service to get it all done, but if you are a DIYer, you can follow the steps that we will list out in the following text.
So, keep reading and find out how to winterize a camper for the cold weather!
Table of Contents
Winterizing your RV
Here are critical steps that you need to take when it comes to winterizing your recreational vehicle. Once you’re done, you’re ready to enjoy the weather in the cold outdoors.
Remove as well as bypass the water filters
The first step you need to take before doing anything else is to remove and bypass water filters inline. If you add any winterizing chemicals, you will get your unit damaged for good. Whenever fall or winter comes around, you should check those filters and see if they need any repairs or replacements.
Make sure to drain your gray and black water tanks too
You also need to think about your wastewater tanks. You don’t need to let the wastewater sit all winter in the tanks. These tanks can be the breeding ground for bacteria, but the water in those tanks can freeze and cause plenty of issues as well.
Therefore, you need to drain both tanks. Start by draining the black water and then the gray water tank. Once you drain them both, you need to clean the black water tank with a special cleaner and a wand.
Drain the lines of your water and water heater
Of course, your water heater also has water in it, and you need to get it out. Therefore, you will have to turn it off and allow it to cool down. Make sure it is not under pressure. The next step here is to remove that drain plug and open its pressure relief valve. It will allow you to drain the water out.
But keep in mind not to drain the water heater if it is hot or there is pressure. Wait for the pressure and temperature to go down and then start working on it. Don’t forget to open all the faucets, both their hot and cold sides and their drain lines. All the water inside the system will drain out.
Bypassing water heater
Before you start adding anything to your recreational vehicle, you have to bypass the water heater. Don’t allow the antifreeze to go into the water heater. Some recreational vehicles will already have a bypass installed in them. If your recreational vehicle doesn’t come with this feature, you can get some assistance from your local RV service station.
Adding the antifreeze to your RV
Before you start adding the antifreeze, you will have to install a converter kit for your water pump. You can also disconnect the inlet of your water pump and put it inside the jug of antifreeze.
You can now close all the drain lines and faucets. It’s time for you to turn the water pump on, and the antifreeze will start going into the water system. With this system adequately pressurized, go to each of your faucets and turn the hot water on.
Keep it on until you start seeing the antifreeze coming out of it. Then repeat the same with the cold-water faucets. After that, you need to turn the water pump off and, in the end, turn on all your faucets.
The next step is to go to the city water inlet. You will find a small screen inside it, remove it. Take a small screwdriver and push it on one valve till you see the antifreeze coming out of it. Replace the screen that you removed earlier and close the inlet.
Pour some extra antifreeze down the drain of all the sinks in your RV. Check that all the faucets and water heater heating elements are turned off.
Using the blowout method
If you don’t want antifreeze in your plumbing system, you can use the blowout method. You can use compressed air for this purpose, and you will need to have a portable air compressor and a blowout adapter. Both these items are available at your local RV parts stores. You will also need antifreeze or coolant for this method.
Briefly, here are the steps that you need to take,
- Link your blowout adapter to the city water inlet.
- Now adjust your air compressor to full pressure (30 PSI) to avoid any damage to the pipe.
- You need to connect the hose of your air compressor to your blow-out adapter.
- Now turn the compressor on and allow it to run and start visiting all your faucets and turn them on to allow air to come out of them for about 15 seconds. Make sure to finish on the drain with a low point.
- After that, turn the compressor off and unlink the adapter. You will need to open any faucet to get rid of any pressure that is left inside.
- Now pour a cup of coolant in each of your sinks as well as the shower drain. The coolant will go into the gray tank and will protect the drain traps.
- Pour a couple of cups into your toilet bowl from where it will go into the black water tank.
Winterizing Your RV’s Interior
Nasty critters like mice and others can try to make your RV their nice and cozy winter home. You will need to winterize RV interiors, so that doesn’t happen.
- You will have to check all the seams and seals of your vehicle and make sure to plug the crannies and nooks up (especially your exhaust pipe) with the help of steel wool.
- If you have to store your clothes in your RV, then use mothballs with them.
- Get rid of any food items from your RV too.
- Check your floor out and see for any of those soft spots. It can be due to water damage. Get professional assistance immediately.
- Leave the doors of your cabinets and fridge open so that mold cannot develop in them. It will also prevent any unpleasant odors from developing.
- If you want to get rid of moisture, you should use a dehumidifier in your recreational vehicle’s central area.
- You can also set a few mouse traps to catch those nasty critters, just in case.
Winterizing Your RV’s Exterior
Here are some steps that you can follow to winterize your RV’s exterior.
- Make sure to give your vehicle a nice wash and use wax to finish. You can spray it with silicone spray once it’s dry to waterproof it. Take care of any leaks if you have. These sprays work very well on metal, wood, and plastic surfaces.
- You can check the roof of your RV for any cracks or holes. Seal them with an adequate RV sealant. If the roof is aging, then give it a liquid rubber coat. And inspects each year closely.
- Also, check those stink pipe vent covers, vent caps, shrouds of AC for any damage or nests of wasps or birds.
- Inspect the body seams of your recreational vehicle along with the seals around the windows and doors. Inspect the AC, TVs, or vents for any discoloration or soft spots. And go for professional assistance at once.
- Also, look for any water damage and mark your calendar for the inspection. Take it to the dealer or professional reaper shop to get it fixed.
- If you’re RV comes with an awning, then remove any mildew and clean it. Make sure not to use a dishwasher, or you will get the awning dried out.
- You can spray your doorway with an organic pest repellent.
- Don’t forget to close your water heater and furnace’s vents and add bug screens to them.
Most Common Winterizing Mistakes
When you are winterizing your RV, you need to avoid these mistakes that most RV owners tend to make,
- Delaying buying a coolant, and it runs out, and the colder months come close.
- Not putting coolant in the outdoor shower units.
- Not shutting off those low point drains and ending up wasting the coolant.
- Leave the water lines without correctly flushing them.
- Before using the coolant, they forget about bypassing the water heater.
- Not draining that hot water tank.
- Not replacing that drain plug on the water heater.
Important Tips
Winter camping isn’t rare, and you can use your RV in colder months as well. You can easily winterize your rig and don’t use water. Tank heaters can be used to keep it warm inside.
But if you decide to unplug and move, you need to be prepared for what’s ahead. You will need several gallons of coolant into your water tanks. You can use the water pump to flush the toilets conveniently.
Professional Assistance
If you think that the steps listed above are too complicated and you don’t want any part of them, you can always hire a professional service. Just visit your local RV service station and ask them to winterize your RV for you.
Doing it yourself can be rewarding, but there is nothing wrong with asking a technician to help you out if you are not sure. They can carry out the entire process for you in no time, and you can take your RV out to have fun in the cold chilly weather.
FAQ
Can an RV coolant go bad?
Rv coolants and sealants won’t go wrong for several years, and you can store them for a long time to come. But make sure you don’t store your antifreeze directly in the sunlight.
How many gallons of coolant do I need?
For an average-sized rig, 2 gallons will suffice. Larger rigs will need more than while smaller ones can work with just a gallon of antifreeze. If you don’t bypass your water heater, you will need additional coolant to fill that hot water tank, which means you will need an extra 6 to 10 gallons of coolant.
Is an RV coolant terrible to use in a water heater?
No, RV antifreeze is not toxic, and it works quite well with both steel and aluminum type water tanks. So, you can use it conveniently.
Can I leave my rig plugged in throughout the cold weather?
No, you can’t do that because RV tanks are mounted outside, and they will still cause issues. Some rigs come with tank heaters that you can use to keep those RV tanks from freezing.
What are the temperatures when RV lines start to freeze?
There are various factors associated with the issue of how fast they can freeze. Therefore, to prevent any issues, you need to take precautionary measures when temperatures drop below 32F.
What if I didn’t get a chance to winterize my rig?
If you have entered a cold region and temperatures are dipping down pretty fast, and you never got the chance to winterize your ride, you don’t need to panic. You will need to turn the heater on low on the first night. You will burn up some propane, but it will save your tanks and pipes for sure. After that, you can start winterizing your camper right away.
Final Thoughts
There you have it. Now you know all you need to know about winterizing your RV. Winter camping becomes fun when you are well-prepared for it. Preparing for it can be a fun job too. But if you don’t have any DIY experience or don’t want to mess up with your rig’s plumbing system, seek professional help.
But winterizing your RV is essential, or you will end up spending tons of money on repair and maintenance costs associated with your rig.

I`m a current Law Enforcement Officer working within the Counterterrorism Bureau in New York State. I have been Camping for over 20 years. My styles of camping include tent, car, truck, van, and RV travel trailer. I have a YouTube channel where I teach all types of camping with an entertaining method: https://youtube.com/@TheSmallsRVAdventures


![10 Best Enclosed Trailer Camper Conversion Ideas [Pictures Inside]](https://camperlife.co/wp-content/uploads/2019/05/Cargo-trailer-camper-conversion-26.jpg)


