How Much Does It Cost to Winterize an RV: Free Advice Make it Cheaper
Are you looking for ways to winterize your RV without breaking the bank? If so, you might be wondering how much does it cost to winterize an RV. Winterizing an RV is essential to preserving it during harsh winters, but the cost of doing so can be daunting.
You may do some straightforward actions to reduce the cost of winterizing your RV during an outdoor shower. This article offers suggestions on how to winterize an RV affordably. Specifically, we’ll cover topics such as why you should winterize it and the materials you need e.g a tankless air compressor, water pump antifreeze, and drain plug, among other things.
Considering these steps, you can winterize your RV without spending a fortune. So let’s get started!
Table of Contents
Why You Should Winterize Your RV?
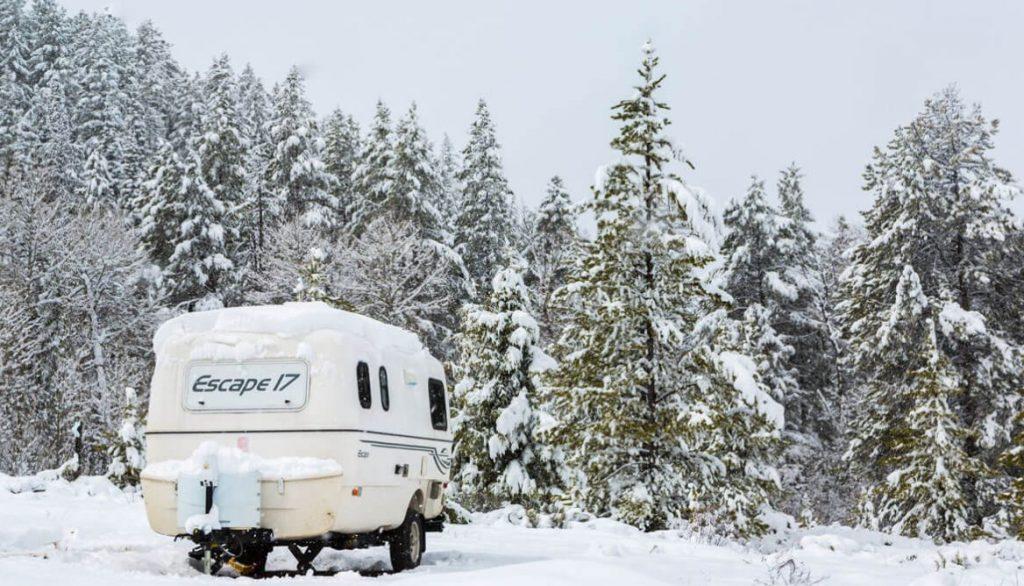
Winterizing your RV’s plumbing system is essential if you plan to travel during cold weather. It helps protect your vehicle from harsh winter conditions, such as freezing temperatures and icy roads. Winterizing your RV also allows you to stay warm and comfortable while traveling during the colder months.
It involves taking steps to prepare it for the cold weather. This includes actions like pouring antifreeze into the plumbing system, draining the fresh water tank, and changing out the fluids in your engine. You should also check for leaks or damage to ensure your RV is safe and ready for travel during winter.
Additionally, it’s important to ensure that you have adequate insulation and weather stripping to keep your RV warm and dry. If you’re planning to stay in one location for a while, consider investing in an RV heater or insulated blankets. hot
Overall, winterizing your RV is essential to ensure that it can withstand the cold temperatures of winter. You need to have a hot water heater for your hot water tank, among other things, to help you deal with your RV’s plumbing system. Remember, if you live in your RV full-time, then a tankless water heater is the best option
When to “Winterize” Your RV?
You’ll know it’s the best time to winterize your RV when:
- Temperatures typically drop to or below 20 degrees Fahrenheit (minus 6 degrees Celsius).
- Your RV’s underbelly cannot be heated and insulated.
- You don’t have heated tanks.
- When you are boondocking and will only use your furnace during specific hours
Cost of Winterizing a Camper

Winterizing a camper is important to ensure that your RV lasts longer and remains in good condition. Doing it yourself can help you save money with the cost of DIY winterization ranging from $35 to $50.
However, it is recommended to hire a professional to winterize your camper when it comes to complex tasks like an antifreeze system flush and refilling. Depending on the RV type and the level of service, professional services usually cost around $130 to $160.
It would help if you also considered additional costs such as waste disposal ($20 to $25) and protection gear covers ($50 to $300). You should buy all the necessary winterization items ahead of time if you plan to do the work yourself.
If done properly, winterizing your camper can help protect your RV from extreme weather conditions and prevent costly repairs. DIY winterization is one of the most cost-effective ways to ensure your RV is in good condition.
Considering the costs of DIY winterization and professional services, you can make an informed decision that fits your budget best.
How to Winterize Your Camper Yourself
It’s crucial to follow certain instructions to winterize your camper effectively. Let’s go through them:
Gather All Necessary Tools and Equipment
These typically include:
- Chemical-Free Antifreeze
- Water heater bypass kit (if not installed),
- Water pump converter kit(if not installed),
- Entity Repellant (optional)
- An RV cover (optional).
- Air compressor(optional)
- Drain plug
Winterize the Plumbing of Your RV Water System

Here are the steps to winterize your camper:
Drain and flush black and gray water tanks
Locate the tank drain valves and open them to drain the fresh water tank. Let the water flow out until it is all gone.
Use a long hose (at least 12 feet) to extend away from your camper for proper drainage.
Once drained, you can begin flushing your tanks with fresh water from the city connection or a garden hose. Flush each tank until the water runs clear.
Prepare, drain, and bypass the water heater
It is important to take this step. Turn the water heater on and let it reach a temperature of at least 120°F (49°C). Once the water is hot, turn off the power switch or disconnect from shore power if connected.
Drain the freshwater tank and low point drains, bypass the freshwater tank
Locate the low point drain and open it to drain the freshwater tank.
The water will flow until it is all gone. Use a long hose (at least 12 feet) to extend away from your camper for proper drainage.
Flush the water lines with antifreeze using the water pump converter kit
Once you complete the draining , water lines will be drained. Fill the fresh tank with RV antifreeze to help in winter storage. A water pump may help. Some RVs have a water heater. Turn on your hot water faucet to allow the antifreeze to flow through all the lines. Let the water heater run for about 10 minutes before turning off the faucets. Remember to remove any inline water filters. This is because antifreeze can damage them.
Blowing the Water Lines Out with the air compressor
Once you pour antifreeze in all the water lines, you can use an air compressor to blow out any remaining water from the water heater. Connect an air hose to a compressor and attach it to the city connection or low-point drain line. Reduce the pressure gradually until the faucets stop producing water. Turn off the compressor and unhook the air hose once all of the water has been removed.
Final plumbing winterization steps
Once you completely drain water lines, it is time to winterize the plumbing of your RV water heater system. Open all the faucets and shower heads to allow the antifreeze to run through them. With all the drain valves open, pour RV antifreeze into each drain until it comes out of the nearest faucet or shower head.
Finally, seal all drain valves to prevent water from entering the lines during winter months. Your camper is now ready for storage.
Winterizing The Interior and Chassis
Now, let’s find out how to winterize the interior and chassis of your camper.
Wheels and tires
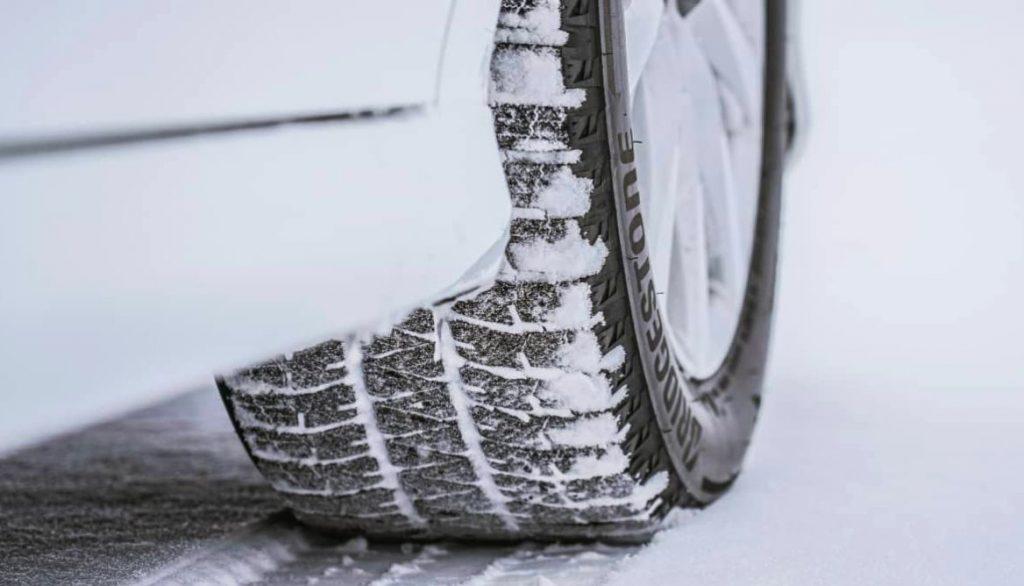
Ensure your tires are inflated to the recommended levels. Check for any signs of wear and tear, and lubricate all wheel bearings with a grease gun.
Propane tanks
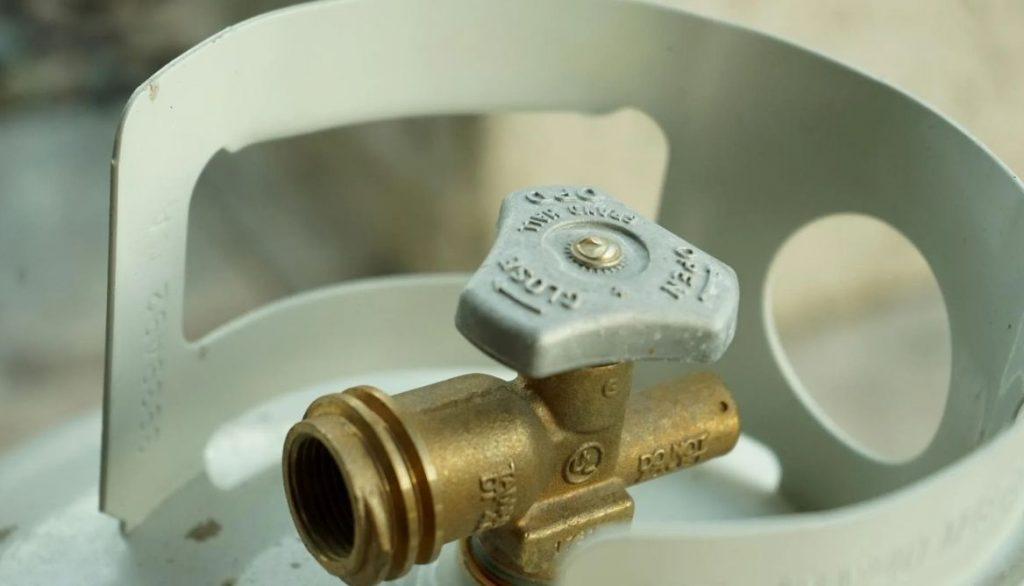
Drain the remaining propane from the tanks and replace it with fresh fuel. This will help to prevent any build-up of moisture or rust inside the tank.
Refrigerators and freezers
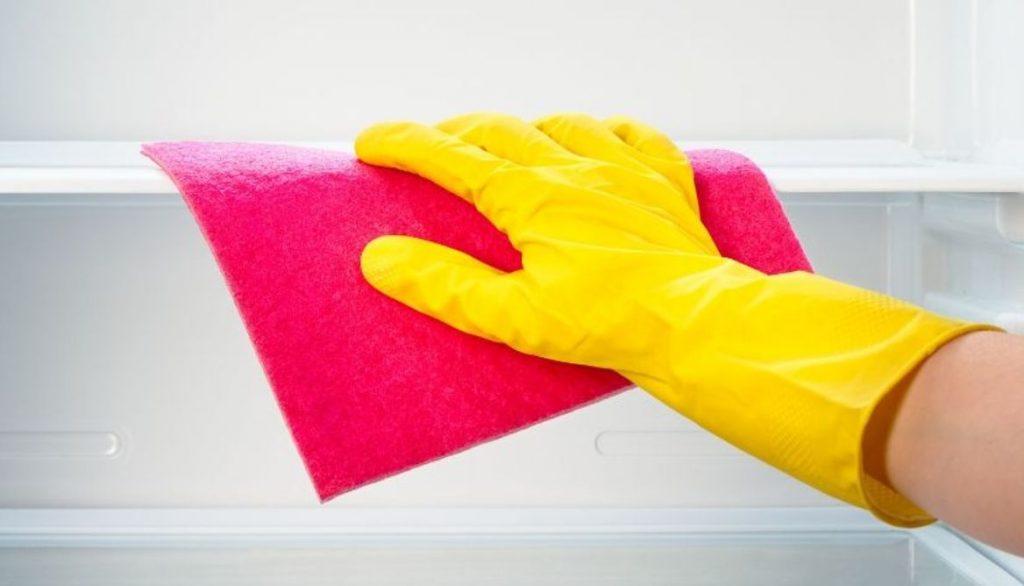
Empty these and open doors to prevent mould or mildew from forming.
Window shades
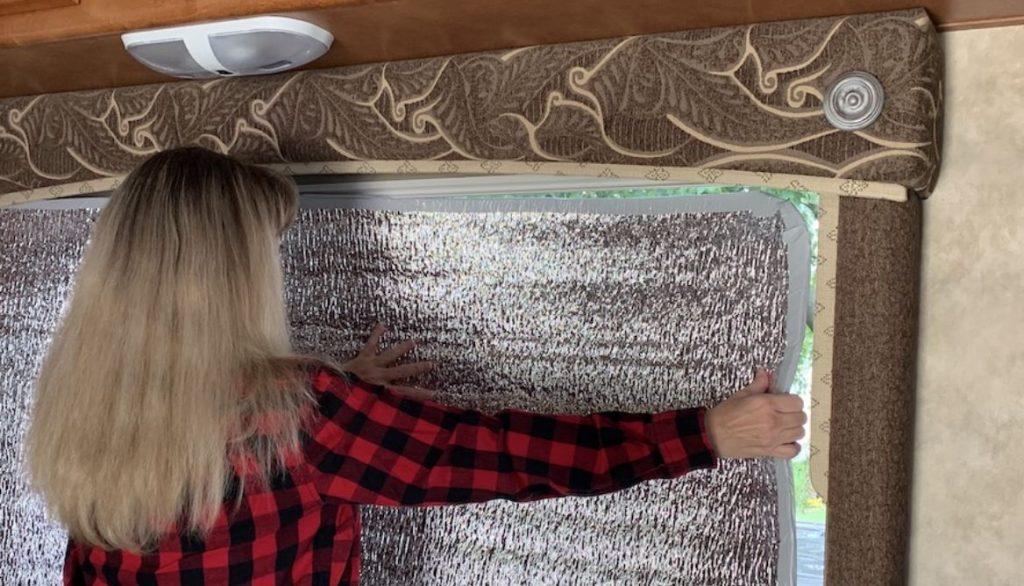
Remove all window shades to allow air to circulate the camper and help prevent mildew.
Winterizing The Exterior
The following tips will help you winterize the exterior of your camper:
Exterior shell protection
Wax the exterior of your camper to help protect it from any weather conditions. This will also help prevent color fading and deterioration.
Awning
Take down any awnings and store them away in a dry, cool place or wrap them up with plastic. Remove any leaves or debris that have accumulated.
AC filters
Clean and replace air conditioner filters. This will help keep the air in your camper fresh and clean all winter.
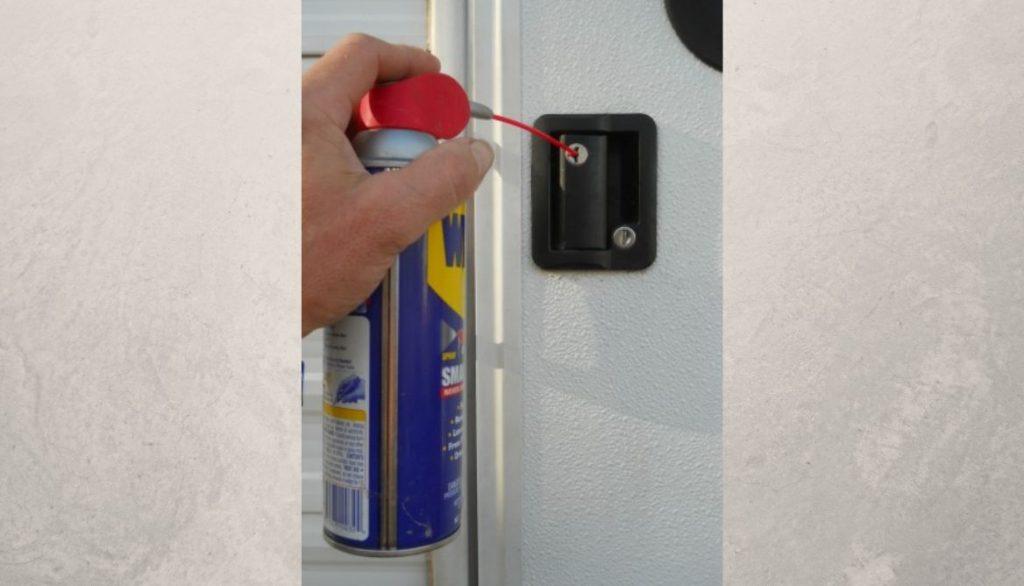
Locks and hinges
Lubricate all door locks, hinges, slides, and tracks for smooth operation.
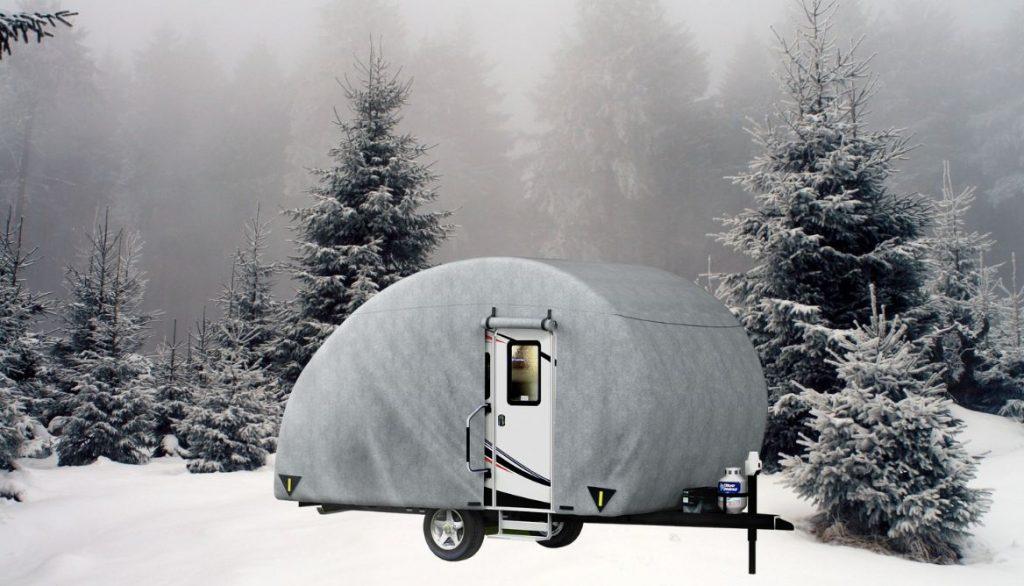
Cover
Protect your camper from rain, snow, and dust with a fitted cover. Ensure the cover is good quality and not too tight, so air can still circulate in your camper.
Let’s find out how to winterize the engine, power supplies, batteries, electrics/electronics, and more:
Winterizing The Engine, Power Supplies, Batteries, Electrics/Electronics, etc.

Here’s how to winterize your camper’s engine, power supplies, and electrics/electronics:
Batteries
Disconnect all batteries from the camper and store them in a cool, dry place. Make sure to charge them at least once every three months to prevent sulfation.
Oil changes
Change the oil in your engine to keep it running smoothly and efficiently.
Gas tanks
Fill your gas tank with fresh fuel to prevent rust, corrosion, or moisture build-up inside the tank.
Electronics
Remove all electronics from the camper and store them safely. Cover them with plastic for extra protection against any moisture build-up.
Fuel
If you will be storing your camper for long periods, it is best to drain all fuel tanks, as fuel can become stale over time.
With that in mind, let’s take a look at how to protect against pests during winter:
Taking care of pests during the winter
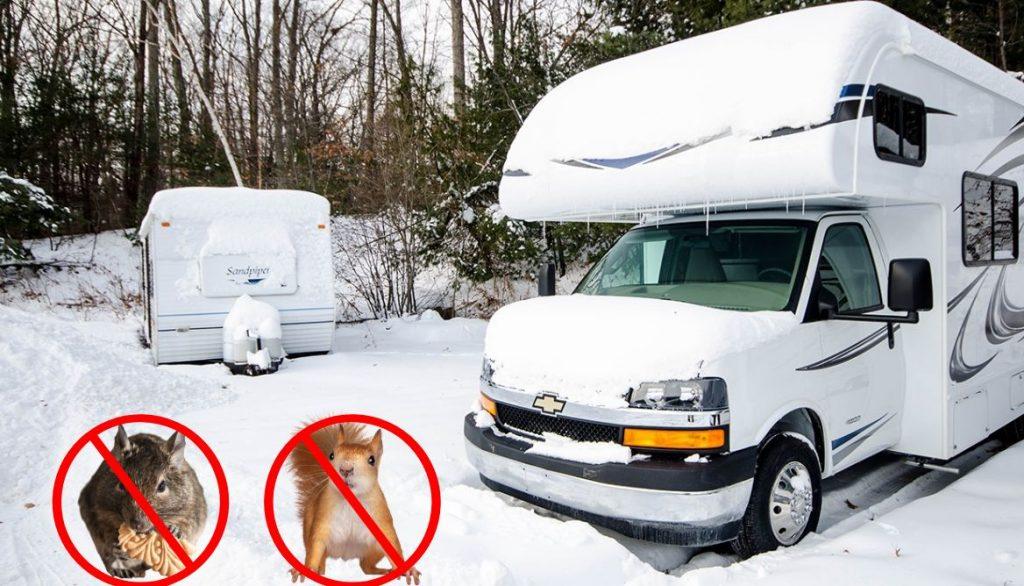
There’s no doubt that the winter weather can bring in pests, and your camper is no exception.
Vents
Your vents are an important place to check for pests during the winter. First, ensure your vents are covered with a screen or mesh to prevent critters from getting in. Then, if you have any gaps, seal them off with foam insulation strips or caulk. You should also be aware of where the vents lead and ensure those access points are sealed.
If pests have entered the vents, a professional should be contacted. They will be able to safely remove any pests and provide advice on how to prevent them from getting back in.
Inspect your vents regularly throughout the winter season and seal them off properly. In this way, you can rest assured that your camper is protected from unwanted visitors
Roof
You need to check the roof of your camper for any cracks or holes that pests may use to enter. If you find any, seal them up with caulk. You can also use a pesticide spray on the roof to help keep out pests. Follow all safety instructions when applying the spray and wear protective gear if necessary.
Doors and windows
You must check all windows and doors to ensure the seals are in good condition. Look for broken or cracked seals that may allow pests to enter your camper. If necessary, you should replace them with weather-resistant door and window seals.
Exterior spraying
You can also spray your exterior walls with a pest repellent to keep insects away. It is especially important if you store your camper outside during the winter. Again, check the manufacturer’s instructions carefully, and apply the repellent in a well-ventilated area.
So what factors can influence RV winterization prices? That’s what the next subtopic will cover. So keep reading to find out.
Factors that Influence RV Winterization Prices
Winterizing an RV or camper is essential to keeping it in good condition, but the cost can vary greatly. Here are some factors that can affect winterization costs:
Location
The location of your storage facility can affect the cost of winterizing your camper. For example, if your camper is stored in a remote area, it may be more expensive to get to than if it were closer to an urban centre. Besides that, the materials needed e.g water pump, and an adjustable water pressure regulator, among others might be costly to transport.
RV or camper size
The size and type of RV or camper will also influence winterization prices. Larger RVs with tankless hot water heater, for example, may require more intensive winterization procedures and thus cost more.
Plumbing system design
The design of your plumbing system can affect the cost of winterizing it. For example, Winterising may be more expensive if it has a complex piping system with multiple fixtures.
Weather conditions
Winterising your camper may be more expensive with extreme temperatures and a high chance of snowfall.
Storage Facilities
The quality of the winter storage facility you choose to store your camper in can also affect the cost of winterizing it. A high-quality, well-insulated storage facility may require less insulation and other winterization services than one that is not.
Time of Year
Finally, the time of year when winterizing your camper can affect the cost. If you winterize in peak season, it may be more expensive than winterizing in the off-season.
Considering these factors, you can better understand RV winterization prices and ensure you get the best deal.
Dos and Don’ts of Winterizing an RV
The following are simple Dos and Don’ts of winterizing an RV.
Dos of Winterizing an RV
1. Check all the seals and weatherstripping on your RV doors, windows, vents, and other openings. Replace cracked or broken seals to prevent potential drafts from entering your recreational vehicle during cold weather.
2. Have a professional inspect and perform maintenance on all of the mechanical systems in your RV, including the roof and roof joints. This can prevent costly repairs or replacements down the road.
3. Clean the interior of your RV thoroughly to remove dust and debris before you store it for the winter months. Vacuum upholstery, carpets, and other fabrics to reduce allergens and provide a fresher environment when you come back next season.
4. Disconnect your RV’s batteries and store them in a safe, dry place or keep them installed and use a battery tender to maintain the charge on the batteries throughout the winter.
5. Cover the RV with a breathable cover to protect it from sun, rain, and snow.
Don’ts of Winterizing an RV
1. Remember to turn off any propane tanks connected to your RV when storing them for the winter. An accidental leak can be extremely dangerous and cause a fire or an explosion.
2. Don’t store your RV in a space prone to flooding or heavy snow, as these conditions can damage the exterior of your vehicle and reduce its lifespan.
3. Avoid using antifreeze when flushing the water lines if possible. Antifreeze can leave a harmful residue on plants, animals, and humans.
4. Remember to store any food items or perishables in your RV before winterizing it. Any leftovers can attract unwanted pests and other critters during the off-season.
5. Make sure to leave your RV parked and unattended for a short time. Check on it periodically to ensure that nothing has gone wrong and all the systems are still in good working order.
Follow these tips, and you’ll be prepared for a safe, comfortable trip during colder months.
Dangers of Not Winterizing Your RV
Failing to winterize can lead to various problems and costly repairs. Below are some of the main dangers associated with not winterizing an RV:
1. Frozen Pipes – When temperatures drop, uninsulated pipes in your RV can freeze and burst. This could result in extensive water damage as well as costly repair bills.
2. Mildew and Mold – Moisture can get trapped in your RV’s walls, floor, and other areas during cold temperatures. This moisture can lead to mold growth that is difficult to remove and could affect the interior air quality of your RV.
3. Structural Damage – During winter, snow and ice build-up can cause damage to your RV’s roof, walls, and other structural elements. This damage can be extensive, costly, and even dangerous if left unchecked.
4. Interior Damage – Frozen pipes and mildew growth can also cause extensive damage to the interior of your RV, such as the warping of wooden surfaces, water stains on fabrics or carpeting, or peeling wallpaper.
5. System Malfunctions – Not winterizing your RV can cause hoses and other systems to malfunction, resulting in breakdowns or other issues that can be costly to repair.
By winterizing your RV annually, you will help ensure that the pipes are properly insulated, the interior stays dry and mould-free, and all structural components like the water pump and the plumbing system, generally are properly maintained. This will help to protect your RV from winter-related damage and ensure that it stays in top condition for years to come.
Don’t wait until the first signs of cold weather- take preventive measures now and keep your RV safe from harsh winter elements.
FAQ
How cold can it get before I have to winterize my camper?
It depends on the type of camper you have and where you live. Generally speaking, most campers should be winterized when temperatures are 20 degrees Fahrenheit consistently.
What is the easiest way to winterize an RV?
The easiest way is to use a winterization kit containing all the necessary materials to ensure your RV is properly protected during colder weather.
How long does it take to winterize an RV?
It usually takes about 20-30 minutes. However, depending on the size of your RV and how many systems you need to winterize, the time can vary.
Can you winterize an RV yourself?
Yes, with the right materials and instructions, it is possible to do it yourself. However, it is important to follow the directions carefully and double-check that all components are properly insulated before putting them away for the winter.
Do you leave faucets open after winterizing the RV?
Leaving the faucets open when winterizing your RV is important to ensure that any remaining water can drain out and prevent freezing.
Can you use the toilet when RV is winterized?
Yes, using the toilet when the RV has been winterized is still possible. However, flushing should be done with caution as antifreeze may be present in the tank.
How much antifreeze does it take to winterize a camper?
The amount of antifreeze required to winterize a camper will depend on the size and model of your RV. Generally speaking, it takes about a gallon of antifreeze for every two feet in length of the RV.
How many gallons of antifreeze do I need to winterize an RV?
The amount of antifreeze needed to winterize an RV depends on the size of your RV and its components – typically, between 2-3 gallons of the non-toxic RV antifreeze will be sufficient.
Be sure to follow the instructions provided with your winterization kit for exact amounts.
Conclusion
Winterizing an RV is a necessary step to take for proper care and maintenance of your vehicle. While it might seem daunting, you can easily winterize an RV with the right materials and guidance. Take the time to prepare properly now so you can enjoy worry-free camping during cold weather!
It’s also important to remember that winterizing your RV is only one process step. Other important steps include regular maintenance, checking for damages caused by cold weather, and storing your vehicle properly when not in use. These simple steps ensure that your RV stays healthy and ready for fun all year!
How much has it cost you to winterize your RV? Share your experience in the comments below.

I`m a current Law Enforcement Officer working within the Counterterrorism Bureau in New York State. I have been Camping for over 20 years. My styles of camping include tent, car, truck, van, and RV travel trailer. I have a YouTube channel where I teach all types of camping with an entertaining method: https://youtube.com/@TheSmallsRVAdventures


