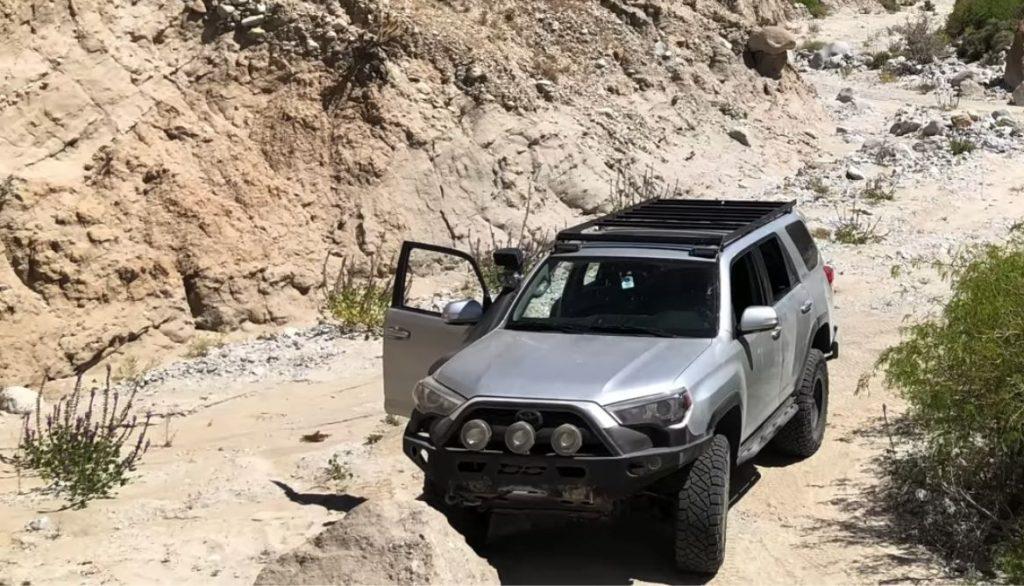
Best Pop Up Camper Roof Rack DIY
Have you ever thought about adding extra storage space to the campervan? Nah?
Spare some time and imagine the pop up camper roof rack DIY. Wondering how much weight it bears and how to make one? Don’t put yourself in deep thought because we have got you covered in this article.
Moreover, let’s also learn why you should make a DIY roof rack and many more related stuff. So, why wait for more? Dive in now and give this article a thorough read!
Table of Contents
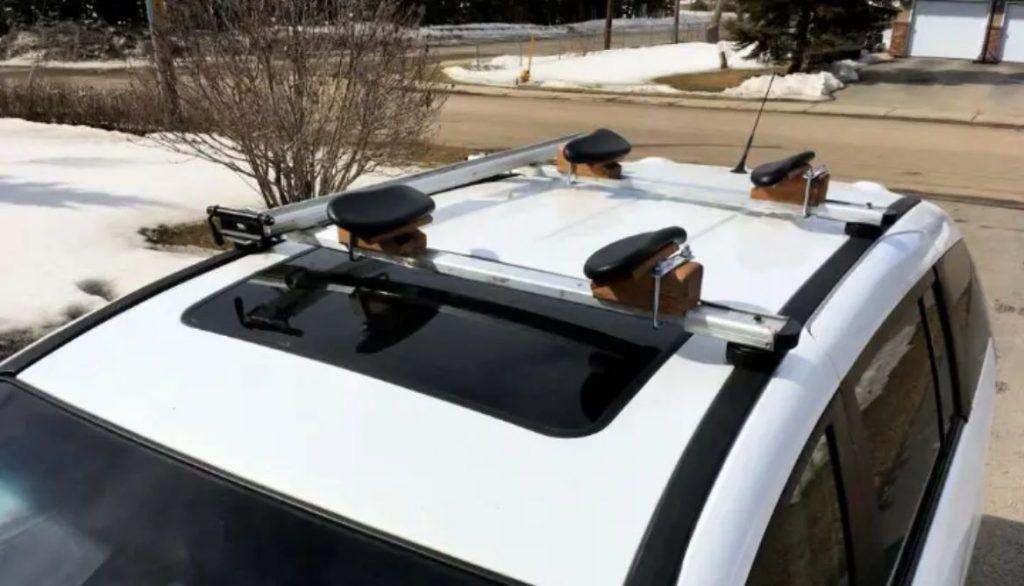
1. How to Make a Roof Rack
Making a roof rack at home for pop up own camper van is an amazing mindset to save expenses. Follow these steps to ensure a perfect roof rack for your pop up camper.
Welding Items Required:
- MIG Welder
- Welding Mask
- Welding Gloves
- Angle Grinder
- Cut Off Wheels
- Metal Cutting Bandsaw
- 10″ Evolution Miter Saw
- Powder Coating Setup
- Satin Black Powder Coating Powder
Protective Gears and Other Stuff:
- 80/20 Aluminum Extrusion
- 90-Degree Connectors
- Toggle Clamps
- Quikclot clotting sponge
- First aid kit
- Respirator & Filters
- Eye protection
- Ear protection
Step 1: Evaluate Aluminum Extrusion Pitch
Choose 40mm and 80mm T-slotted parts, and give the supplier specs for cutting. Design your first sketch as 80mm front and side rails with 40mm horizontal runners to sustain two distinct sheets of 3/4′′ plywood.
This height difference lets the plywood glide over the shorter runners and strike the taller outsides that interact as hard brakes.
Step 2: Brackets for the Gutters, Prototypes
As indicated, you might buy rain gutter-mounted roof-rack mount. One can construct, develop, and fabricate sets from inexpensive steel flat stock at any metal-working workshop.
Chop flat material into workable pieces at any local metal yard. Because this prototype will leave everything longer than it would be to note measurements and hole positioning.
For the clamping system on a bracket, land on a 90-degree bent support arm that would lay in the rain gutter and a smaller, question-mark-shaped grip to retain it.
Step 3: Metal Attachment Brackets, Finished Fabrication
After testing the prototype and simplifying it, you can batch off the final bits. The supporting arm, triangle braces for breadth, and front clamp cut them six times.
Then chop the longer arms, bent them in a hydraulic press, and weld the bottom triangular bracing. Give a wise and heavy hammer cut and bent the front bracing into a question mark.
At last dry fit each bracket assembly on the cruiser to mark the hole position for the attachment bolts. The hole had to be measured while the bolt clamped the components together to avoid slippage. Brackets will be finished after drilling all holes.
Step 4: Sprinkle the Brackets with Powder
Smooth black powder complements the aluminium extrusion’s black covering and is more durable than painting.
Powder coating requires cleaning the naked metal surface, suspending it from a metal wire in the evacuated paint chamber, attaching the negative-charge clamps, and softly puffing positively-charged powder onto the surface using the powder coating gun.
Place the powdered portion in the toaster oven at 400 degrees F without touching it. Start a 20-minute timer when the mat finishes and turns glossy. After cooling, it’s done.
Step 5: Fasten Clamps to Hold Stuff Down
After finishing the primary components, you may link the sets to the roof rack and install them on the rain gutters. The roof rack will function well after compressing all face clamps! Select the aluminium extrusion as an anchoring platform because of its flexibility.
To use the T-track system, add toggle clamps to the frame tops to hold down the plywood sheets. Test the rack with two plywood slabs. Each clamp’s throw has to be adjusted to hold down the plywood sheets without denting the board.
After adjusting the clamps, it is super easy to clamp down and flip up. Brake hard and accelerate it to check whether the plywood moves under the clamping force or not.
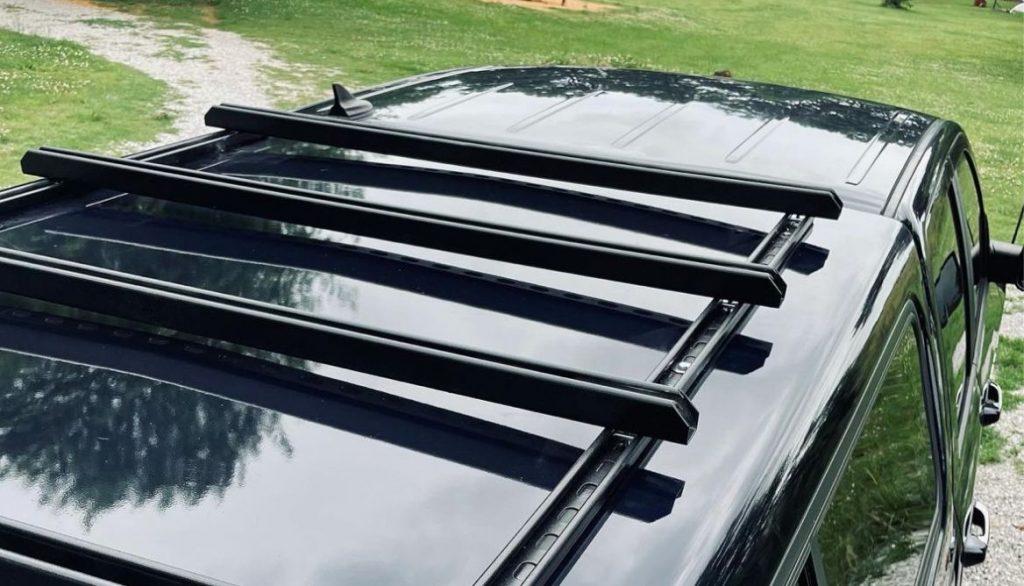
2. No Weld Truck Roof Rack
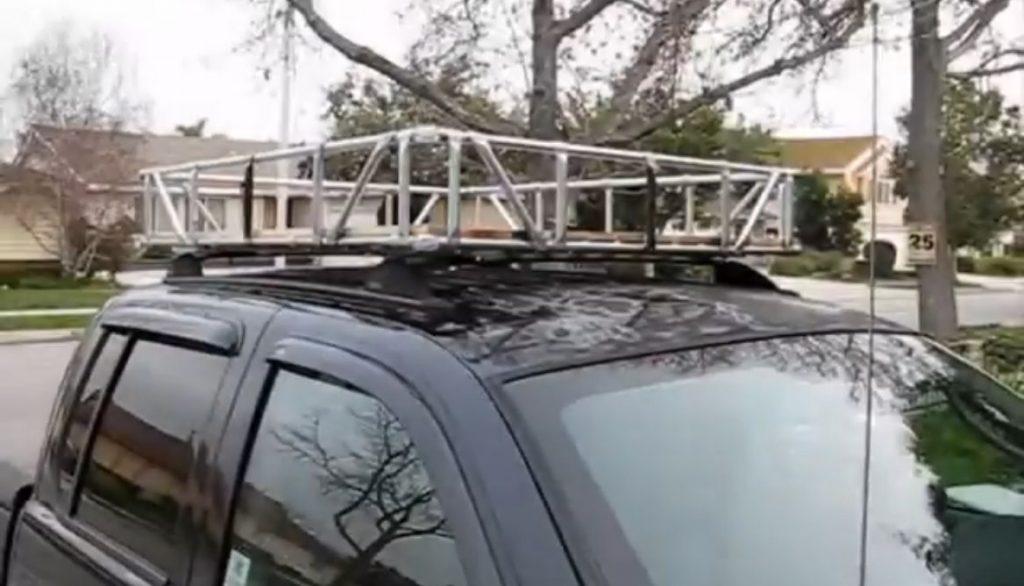
Follow these steps to successfully build a no-weld truck DIY roof rack:
Step 1: Completed Rack and Its Intended Concept
The roof rack needs a bolt-on rack. A Dodge addition with two horizontal bars fastened to the roof is the premium choice. Get a base if you don’t. SUCTION CUP RACK NOT INTENDED.
Step 2: Progress in the Verticals
This phase describes slicing, twisting, and polishing all tube connectors. A 4″ cutoff wheel on a handheld grinder will be faster and easier than a hack saw. Use a hose to pressure a large grip since smaller ones won’t last.
Step 3: Achieving the Horizontals
Moving on to the horizontal section. When you conceptualize the design, look for a neat corner that won’t simply be some bent tubing, and come across some neat pull-through connections that serve a practical purpose while also looking good.
Step 4: Connecting the Pieces with Horizontals
Unite the horizontal and vertical portions of the frames. There should be three pop up rivets at each joint. A package of 500 rivets will cost about $3, so pick them up.
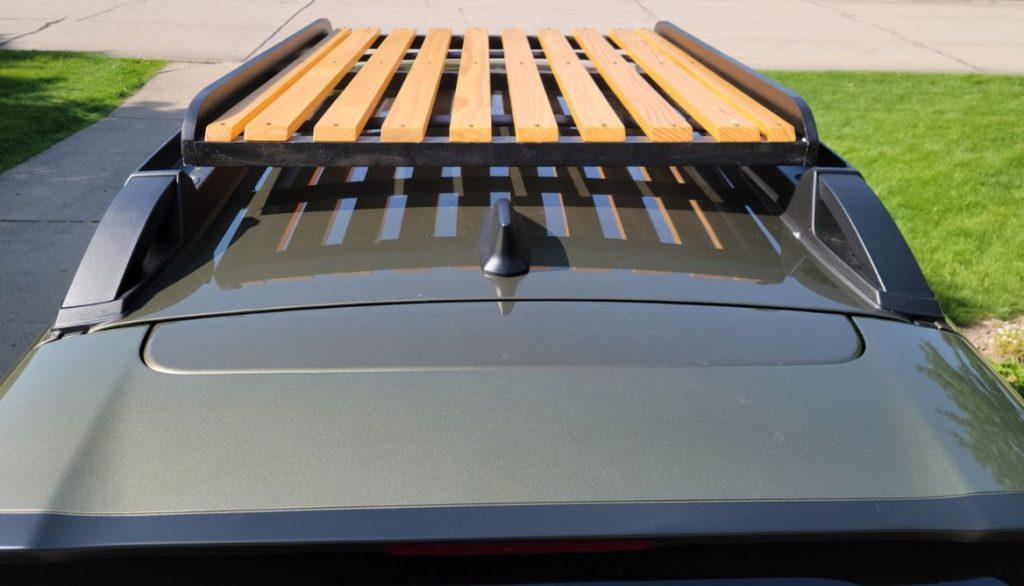
Step 5: Now Add a Wooden Floor
Use redwood fence planks for the flooring, rip each board in half and then cut them to 5/8 inch “thick to reduce burdensomeness. For each, 4 1/4 “specialized fasteners such bolts and nuts won’t loosen under normal use.
Step 6: Finishing Up and Putting Up
Now that it’s ready, you can attach it to the vehicle and see how much weight it has. Fasten it down by drilling holes in the already present bars. Close inspection reveals a half-inch plywood piece fastened to the existing rack bars and the bottom rack rail.
3. Homemade Roof Rack
Do you own a camper and want to replace an old roof rack with a homemade roof rack? Follow these guidelines:
Step 1: Buying Items
At first, buy some 1″ Overkill, use OD.120 wall tubing and get a factory bend up the 4 corners. They should be around 84 inches in length and 54 inches in width.
Use some 3/4″ cable to connect the ends “Long, substantial length of the rod. Contained entirely within, without any overhanging. PVC pipe with a 120-millimetre wall
Step 2: Drilling
A few holes must be drilled for filigree welds.
Make use of some leftover angle iron to guarantee a level surface. This is the most time-consuming and frustrating aspect of the job that could only be done with one hand.
Give it your all and settle for nothing less than your finest.
Step 3: Mounting
The rack’s crossbars and mounting plates are except for usage. According to our investigation, you would need to use a chop saw to notch 1″ tubing at a 20o angle on both sides so that it would fit against the other 1″ tubing. Guess at 22.5% and it will turn out to be nearly accurate.
Using a chop saw to do this will be difficult. There would be an unsightly notch in your behind if you will even slightly off to one side. This is not the construction of a precise frame for a racing vehicle. Tow vehicle to nearest store for more accurate drilling.
Step 4: Tacking
Solder, tack, and solder again. Hurrah! Your homemade DIY roof rack is ready!
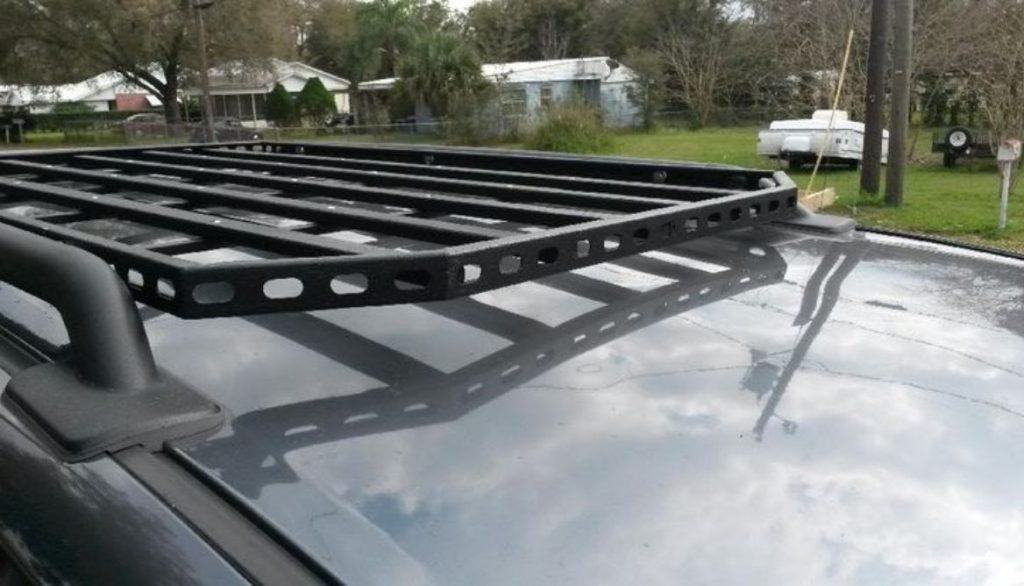
4. DIY Aluminium Roof Rack

Step 1: Planning
Draw out Plans for Plates to Join Roof Rail
Step 2: Testing
Check the Level and Test the Connection Plates
Step 3: Fabrication
Creating Aluminum Plates for Fabrication
Step 4: Assembling
Assembly of Plates and Rail
T-slot connections make 80/20’s extrusions simple to assemble. Like an industrial erector set, they also provide a wide variety of connections and accessories.
Step 5: Designing
Spines and Windproof Covers, 3D Printed
Using the schematic provided by 80/20, design the end cap in Fusion360. After little polishing, the adhesion fit onto the rail is rather good. Don’t use any glue, so if you ever need to swap out the T-nuts for another set, you can just pop them off and slot the new ones in. You could use silicone to help them attach better without resorting to permanent adhesive.
Step 6: Embedding
Embed the Cross Bars
Utilize Four 10 Series 4 Hole – Wide Inside Corner sets to secure the cross bars to the roof rails. Aim for redundancy in the form of two nuts in each section of the rack, in addition to convenient height adjustment.
5. Building a Roof Rack
Step by step process covers the following:
Step 1: Modify Bar Length
A 3/4″ electrical conduit produces the bars. $2 will buy you a 10′ piece. Add 6″ to the roof track distance. Cut two identical bars.
Roof racks rest on cross bars. This rack protrudes six bolts. Each bar got six 1/4″ holes. For bolting, the ends are drilled through. Measure and note the conduit seams to align the holes.
Step 2: Attach Bars to Rack
Place each bolt lightly and tighten them from the inside out. After assembly, place four bolts in bar holes and attach two to the rack.
Step 3: Prepare Hardware
Hardware Part Needed:
- 4, 1/4″ Bolts
- 16, 1″ Diameter 1/4″ Washers
- 4, 3/16″ Lock Washers
- 4, 3/16″ Nuts
- 4, 3/4″ Conduit Hanger
Installing aid will groove 1/4 screws. They should be long enough to not block the conduit in the hangers. Trim the nuts to 20mm. Modify only that.
Step 4: Roof Mount
Bolt two washers. Insert the washers with the bolt in the track. Blend them well. Two washers on top. Spin the bolt hanger. Help yourself with a flathead. Removed a track bolt to slide the front mounts in.
Step 5: Tighten Everything
Square the roof mounts. Spin the hangers to tighten and align them. This requires a flat head. Centre the rack in the mount. Tighten the conduit bolt first. Tightening the nut against the mount locks the bolt. Insert a lock washer.
6. How to Make Your Own Roof Rack
Step 1: Preparation of Equipment and Supplies
Please make use of the following items to do this task:
- Saws, Table and Miter
- Bit-Switched Router
- Saw for Slicing Metal
- Sander
- Power Drill and an Assortment of Bit Sizes
- Linseed Oil, a Recovered Substance
- Nuts and U-Screws of Varying Sizes
- Aviation Cable
Step 2: Channel Removals
Made mounts and rail from oak shipment platforms from a local farm tool business. Aluminium channel from a damaged camper awning and cut four 6″ lengths for mounting bases.
Step 3: Bolt Holes
The rack will rest on these four metal blocks. Remove the roof bolt-hole plastic clips to install the blocks. Discover the bolt holes using metric size 6 screws via try and error.
Step 4: Assemble Rails
If you want to find a solution to lift the rack over the roof for space and to prevent it from scratching the van top. Hockey pucks are the right material. Bore 1/4-inch holes in the centres of four pucks. Awl the same hole 1.5 inches from the end in the 4 metal mounting bases. Temporarily fasten the four mounting bases to the van roof with four 40 mm metric M6 nuts.
Step 5: Attach Roof Rails
Cut two rails to match the ascending bases’ edge-to-edge range.
Designate and drill 1/4″ holes 1.5″ from these rail. Bolt the rail through the ascending bases into the van’s roof bolt holes using four 70mm metric M6 nuts and numerous washers.
Step 6: Rail End Caps
Hockey pucks again will cover the ends. Halve two pucks. Crave four sections with a utility knife blade, hammer, and bench vice. Contour the puck to fit perfectly within the 1″ x 2″ metal tube. Bore a tiny hole through the ascending bases, square tubing, and puck to fasten the end caps. A 1.25″ screw went through the puck’s hole will secure end caps.
7. Building a Light Weight Low Profile Roof Rack
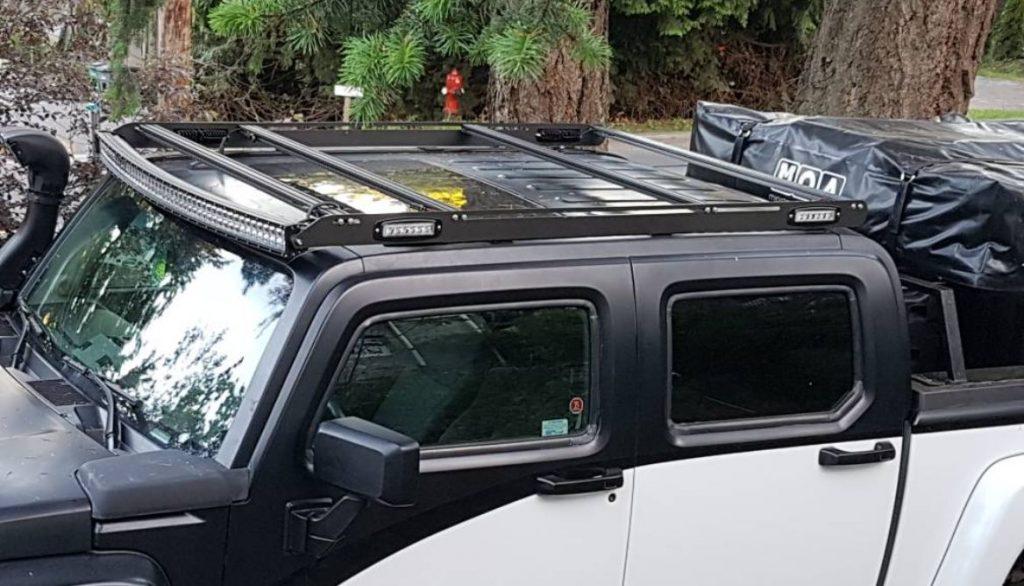
Advantages of Construction vs Purchase
To begin with, most solutions are going to need some sort of modification to operate anyhow, as there aren’t that many and they’re all very pricey.
- Thrive on difficulty; it’s fun to see how far one can push themselves to learn something new.
- Can easily incorporate all of the concepts that are floating around in your head to make the thing you want.
Step 1: Mocking-Up
Pick up the two side rail from the water jet shop. Mock up the rail to check the dimensions.
Step 2: Cross-Checking
Then ensure that the side light cutout is the appropriate size (1/16th off the centre). The rack will be ready for cross-bracing as everything will be aligned.
Step 3: Marking & Finalizing
Mark and awl the ascending holes and bend outwards, to achieve the goal all along and get your pop up camper ready!
8. Custom Roof Rack
The pop-up camper custom roof rack is easy to install and enables you to transport more gear camping. Most 85-1/2-inch campers fit the rack.
Step 1: Setting Ranges
Regardless of your trailer’s width, each crossbar has three slits to alter its range to 80, 83, or 86 inches. To set the bar range, insert the provided nuts into the pre-cut holes on the bars and tighten them with the Adjustable wrench.
Step 2: Aligning
Align the roof-rack feet along the horizontal bars with your camper’s roof. Screw wrench the feet to the crossbars. Position your camper’s roof bars.
Step 3: Padding
Padding under the roof-rack feet prevents trailer roof scrapes and abrasions. Awl holes in your roof using a 1/8-inch drill bit and fasten the crossbars to secure the roof rack.
9. DIY Camper Shell Roof Rack
Craving for a camper shell roof rack but are short on budget? Try a DIY roof rack and avoid heavy-duty on purchase.
The best way to save cost is to visit a self-service recycled auto part store. On a few occasions, a used bike rack can also be useful. Look for crossbar glide tracks. They are a perfect idea to start a DIY roof rack.
Step 1: Find Items
Find the racks that are suitable for your camper range, and pick and clean them up.
Step 2: Measuring
Measure front-to-back to attach. Since the dome taper toward the rear, measure across to ensure the tracks would stay parallel so you could swing any rack up and down. Awl through the windshield and bolt them on with 1/4″ studs, mudguard washers, nylock nuts, and lubricant to prevent leaks.
After finishing the tracks, Start the rack. Purchase 10′ of 1″ square tubing and had 1″ flat bar. Cut 8 3-inch flat bar pieces and measure weight.
Step 3: Cutting
Cut 8 5/16×1″ bolt heads. Drill two 5/16″ holes in each flat bar piece 1/4″ from each end. Welded two studs into four of these components.
Make the rack using a 1″ square tube. These are adjustable in width. 56″ broad gives you additional ascending possibilities even with the RTT. Go high or low.
From here, the rack will be a simple matter of welding the tubing together with 2 supports per crossbar and the remaining 4 pieces of flat bar with holes as the foot on each upright. Paint, powder coat, or spray paint, then complete the rack with four Home Depot end caps for a tidy look.
Step 4: Placing & Lining
Slide the four stud-covered parts into the tracks. Line up your crossbars’ feet with the slides and bolt them down with 8 nuts, compressing the tracks between the flat bars.
10. Build Your Own Damn Roof Racks
If you want to put solar panels, carry stuff, or do both, you need a damn roof rack ideas.
Step 1: Removing Plugs
First, find the plugs that cover your support surface.
Retractable or conventional body vehicles may have different mount locations. A roof hole, pre-threaded M8 insert, and strengthened plate on the internal ribs are these ascending locations.
Step 2: Mounting
After removing the plugs, apply spacers. After installing spacers, mount longitudinal rail.
Place the 10′ Unistrut rail on one side of the vehicle’s studs. Glide the Unistrut longitudinally to match the slots with the openings.
Step 3: Assembling
Assemble the cross members after ascending the longitudinal rail to the roof. The setup determines how many cross-members you require.
Step 4: Fastening
For Corner Strut Channel Bracket to fasten the cross-members to the ceiling, cut hole on both ends.
This completes your damn roof rack installation.
11. Homemade Truck Roof Rack

Required items list:
- Aluminium Spacers
- 3 in. x 3 in. x 0.25 in. Aluminium Angle
- Black Truck Bedliner Spray
- Threaded Rubber Bumpers
- 2 in. x 0.25 in. Aluminum Tubes
- 1 in. x 2 in. Extruded Aluminum
Step 1: Dimension First
- Roof Rack – Mountable Diameter
- Top Windshield Slant
- Length from Windshield to Back of Truck with Liftgate Open
- Awning Size
Step 2: Design
After assessing, design your DIY roof rack. Leave room for your sunroof and sidewalls when placing your crossbars.
Step 3: Tap Fabricated Aluminum
Tap the flattened metal on both sides if it wasn’t pre-tapped. The roof rack sides will feature holes for fasteners.
Step 4: Drill Side Pieces
Drill crossbar studs on both side sections. Since the side components are 2 in. high and the vertical slats are 1 in. tall, awl four holes for each horizontal position to install either on top (for a rooftop tent) or at the bottom (for general storage)
Step 5: Cut Ends to Length and Inspect Pieces Together
Cut the side aluminium to range. After drilling, ask someone to assist you attach your DIY roof rack’s side components to your vehicle’s roof. Place your rack in the center and use wood blocks to elevate it.
Step 6: Construct Roof Rack Feet
Fasten your aluminium angle to your rack, awl holes in the side pieces, and mark the roof attachment foot holes. After, awl holes there.
Step 7: Paint and Put It Together
After drilling, paint everything with bed liner spray paint. As the paint dries, bolt the components to your car and examine how they fit.
Step 8: Make Support Rubber Bumpers
Rubber bumpers at the roof rack’s front provide further support. When moving, this minimizes rack swinging.
12. Roof Rack with Solar Panel Honda Odyssey
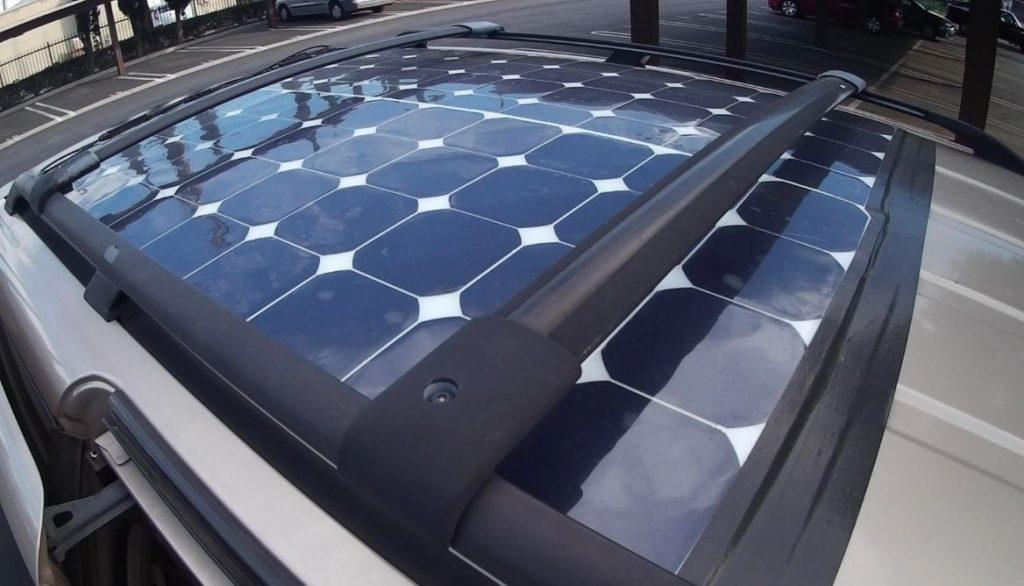
Materials needed:
- Allen Wrenches
- Plastic Pry Bar
- Awl Bit
- Tin Snips
- Small Adjustable Wrench
Parts Required:
- Strut Channel Nuts 1 Pack of 5
- Strut Channel Centering Washer 6 Each
- Aluminum Female Thread Hex 6 Each
- Strut Channel 2 Each (5 and 3 Feet in range)
- 18-8 Stainless Steels Socket Head Screws 1 Pack of 50
Step 1: Installing & Placing
Install the solar panel on the five-foot rail first.
Place the screws in from the inner edge of the panel, but you may do it in the reverse. Put a locking gasket between the screw head and washer or washer and screw.
Step 2: Prepare Ceiling
Prepare the ceiling for 3-foot Uni-Strut rail. These may be longer to expand your roof rack frame for different uses. The Odyssey needs 3 feet for a 24′′-30′′ solar panel.
Verify the roof component spacing if you have a different vehicle. Gently pull up the roof rubber strips to reveal the OEM roof racks anchoring studs.
Step 3: Cutting
Cut the rubber strip to ranges.
Mark the rail/rubber strip with the standoff. Tin snips the rail and attaches it to the clip. Ensure you didn’t bend the rail/strip first. If so, a screwdriver can delicately reshape it.
Reattach the rail/clip assembly. That will secure the rubber strip from your new rack frame to the windshield.
Step 4: Swapping
Attach M6 standoffs to studs. Standoffs are threaded spacers. “M6″ is a 6mm metric thread. Put a 1/4′′ flat washer on the stud, then a split washer, then the perpendicular. 1/4” is near enough to M6 to swap washers.
This project doesn’t need screw-specific washers. To remove the paint off these painted studs, tighten and loosen them as you thread them on.
Step 5: Attaching
Attach the fore/aft 3-foot rail using M6 x 16mm screws, 1/4′′ fender washers, and split locks.
Step 6: Wiring
Wire the car with your DIY roof rack solar panel.
13. Simple DIY Roof Rack
How much weight aluminium can bear?
Roof rack offer additional capacity to any car, but obtaining the correct one may be difficult. Instead of buying a subpar rack, construct your own.
Steel or aluminum are your materials. Wood roof rack frame is occasionally seen, however, they degrade and break with time. Your roof rack frame should be solid and durable like your car.
Steel roof racks are cheap and easy to make. If you have front-to-back factory roof racks, you may fabricate steel cross members using one-inch square tubing cut to fit and connected to the racks using carriages nuts and a fork latch.
Custom designs need metal cutting and welding. Start with MIG or flux-core welding. Racks require OEM or custom roof fittings. This DIY made a canoe, storage container, and grill roof rack from one-inch circular metal tubing.
Custom roof rack require precise dimensions and regular squaring. 80/20 aluminum frame may be custom ordered to your specifications and assembled like an Erector Set.
The 80/20 is fantastic because its T-slots let you secure any attachment with a bolt and T-nut. Like the Front Runner roof rack, you may move your hooks or eyebolts to tie down your goods.
Aluminium racks are practically as durable as steel but lightweight, reducing fuel economy.
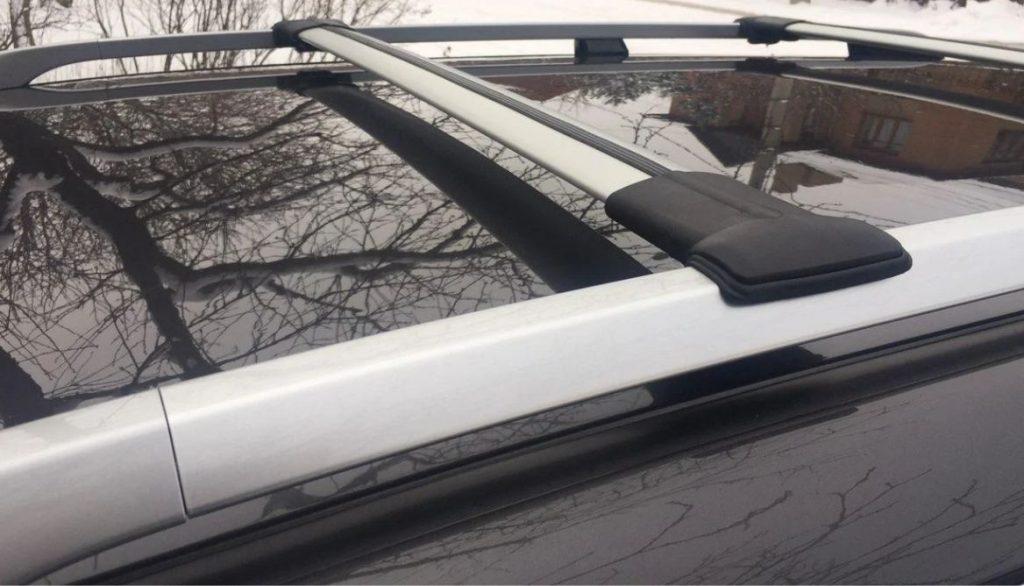
14. How to fit Factory Rail Roof Rack Systems
Roof Racks that are Factory Mounted attach themselves immediately to elevated rail or tracks that are already present on the roof of your vehicle.
Check the fitment instructions to ensure that you choose an appropriately sized roof rack for your car.
Certain mounts may require adapters or fit kits, however, this will depend on the type of vehicle you drive.
Conclusion
A rack that you will install allows campers to protect their cargo while travelling to destinations. You can either buy a fine pre-made one or make one as we have guided in our article. You will have to make curved bars if you are making one yourself.
Adding wood planks to make it aesthetically appealing and makes it work great on your car. We hope you would have learned to make a rack to install and bind your cargo while moving from one place another.
Let us know which rack you will make for your car in the comments section!

I`m a current Law Enforcement Officer working within the Counterterrorism Bureau in New York State. I have been Camping for over 20 years. My styles of camping include tent, car, truck, van, and RV travel trailer. I have a YouTube channel where I teach all types of camping with an entertaining method: https://youtube.com/@TheSmallsRVAdventures


