How to Add a Bathroom to a Camper?
So, you’ve decided to take the plunge and convert your van into a full-time home on the road.
Congratulations! This can be an incredibly rewarding experience, but it’s important to plan ahead and think through all of the details.
One of the most important aspects of camper lifers is having a compact and functional bathroom. In this post, we’ll walk you through the steps necessary to build a bathroom in your camper van.
Van’s bathroom design can vary dramatically depending on the layout you want.
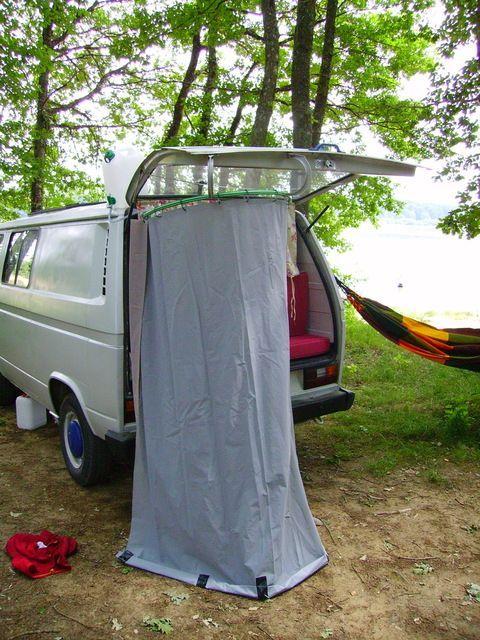
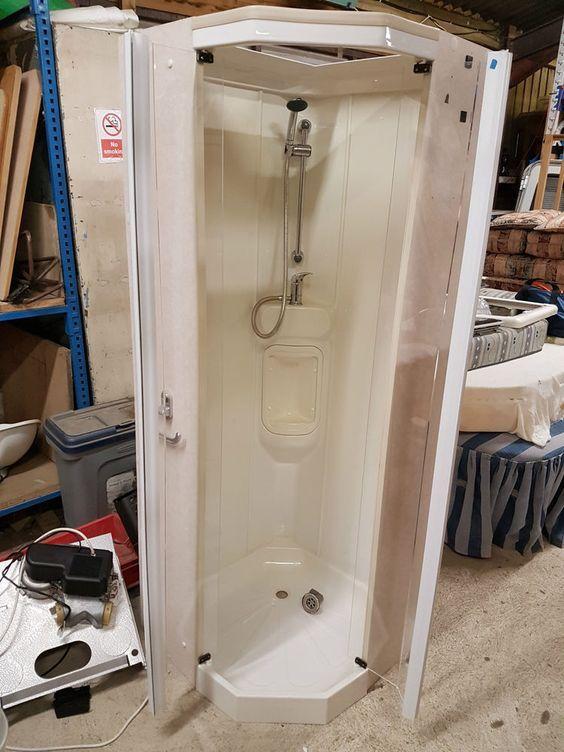
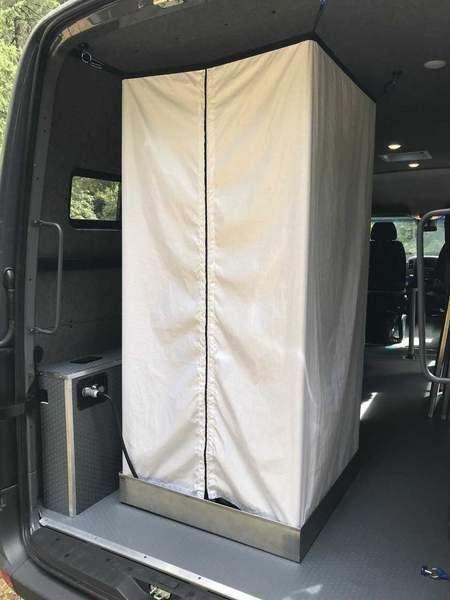
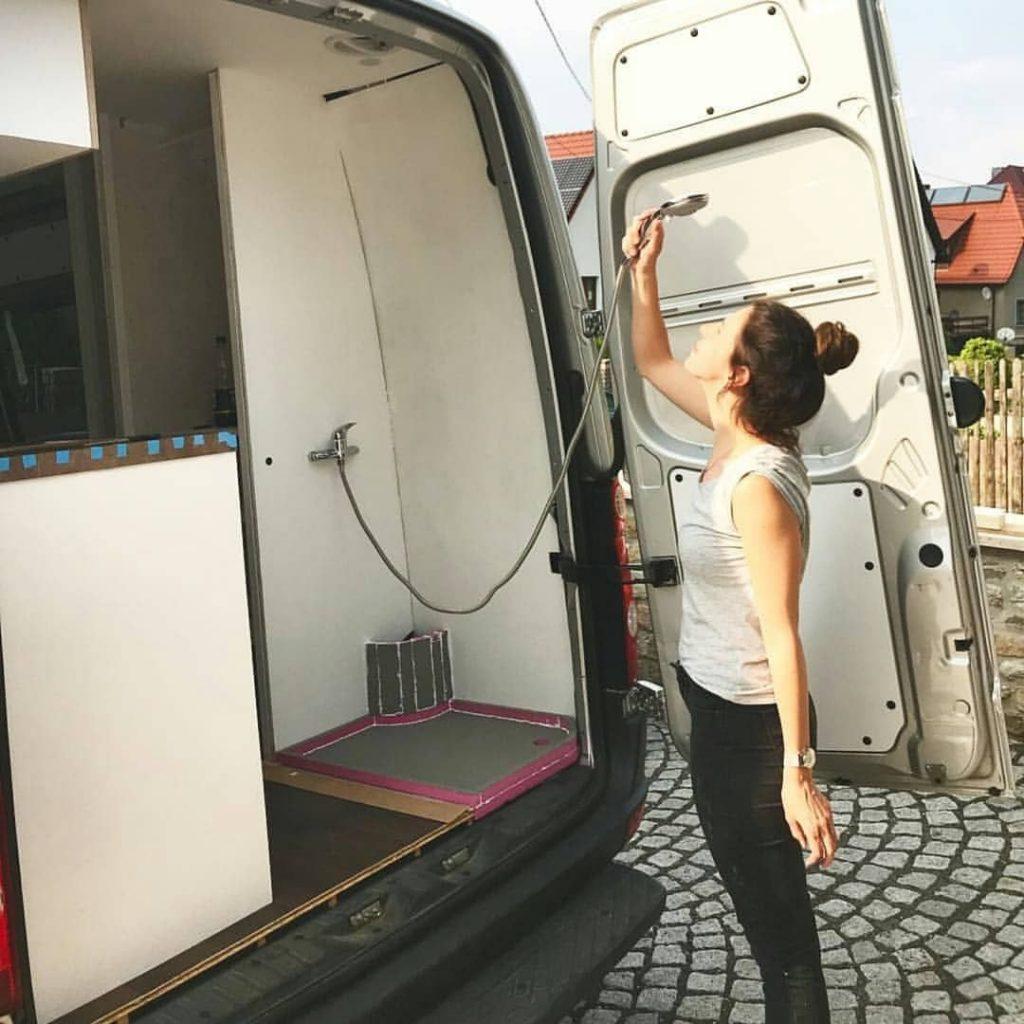
The smallest showers are about 3′-4’x3′ with a shower curtain which offers you privacy, while the biggest ones are large enough to accommodate a bathtub!
We recommend choosing your preferred shower size and building off of that.
You’ll find the plumbing section below helpful if you don’t have experience with plumbing – otherwise, just skip ahead to “Hooking up plumbing” if you’re confident in your plumbing abilities.
As for water storage, every van build is different so this will depend greatly on what kind of van you have or how much space you want to dedicate to water storage.
Check this: How to Play Your Campervan Layout?
We recommend measuring out where the water tanks will go before planning any other aspects of the bathroom. Then, it’s just a matter of plumbing water into the tanks and using gravity to help you shower.
Table of Contents
How to Add a Bathroom to your Camper?
Step 1: Draw some plans for your plumbing
Hydronic heating is one of our favorite upgrades. It makes living in a van so much more enjoyable than relying on propane alone!
But, if you plan on adding some plumbing, that means working with both gas lines and waterlines.
This can be incredibly complicated depending on what kind of plumbing you want – just ask anyone who has installed custom plumbing in their house!
Because this is such an involved task, we’re not going to get too much into detail here – just keep reading if the plumbing is not your strong suit.
Expect to spend several hundred dollars or more if you don’t have the previous plumbing experience.
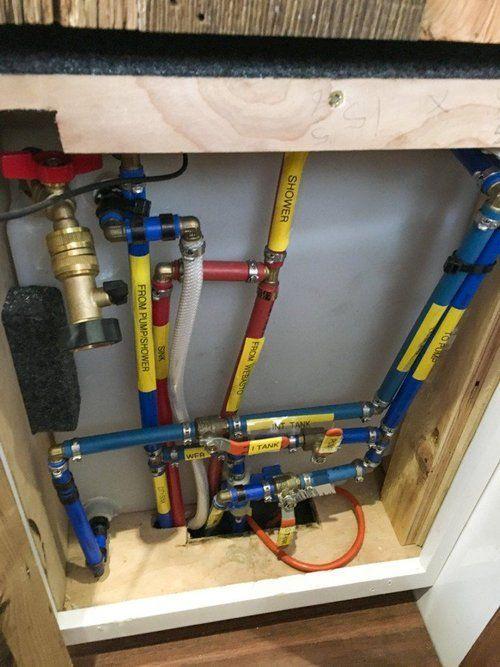
We recommend working with 1/2″ lines, but 3/4″ works too! You’ll need a few adapters, easy to find online or at any hardware store – ask for sweat x female hose bibb x male pipe thread. That’s all pretty simple! If you want to build a custom shower pan, you can use ABS pipes instead of plumbing lines to make shower walls (more on that later).
Once again, this will depend greatly on what plumbing you want. Toilet plumbing is a bit simpler than shower plumbing, but not by much!
Make sure to allow space for plumbing in your floorplan and don’t forget about future upgrades!
For example, we didn’t originally plan on installing hydronic heating – that meant redoing our plumbing plans at the last minute to account for all of the new plumbing lines we needed.

Step 2: Build some mockups
If this is your first time building something substantial, we highly recommend building a few small mockups using cardboard or FRP board before cutting into your walls and/or flooring.
This will help ensure everything fits correctly and teaches you how your build will look before you’ve started. We used foam board because it’s cheaper than MDF or plywood, but still sturdy enough to use for mockups.
Step 3: Choose your plumbing fixtures
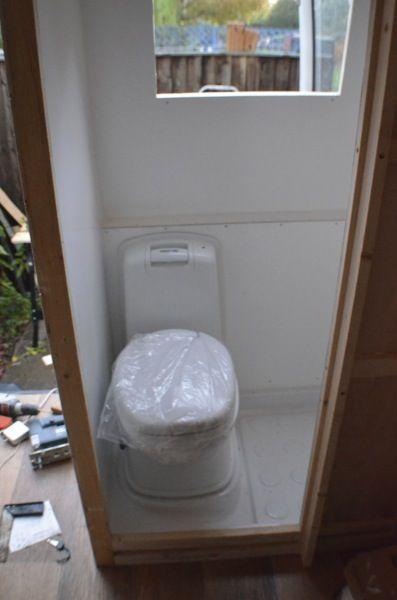
Once you’ve drawn up some plumbing plans, it’s time to choose which plumbing fixtures you want! If this is your first plumbing project, we recommend starting with the RV toilet since that’s the simplest plumbing task.
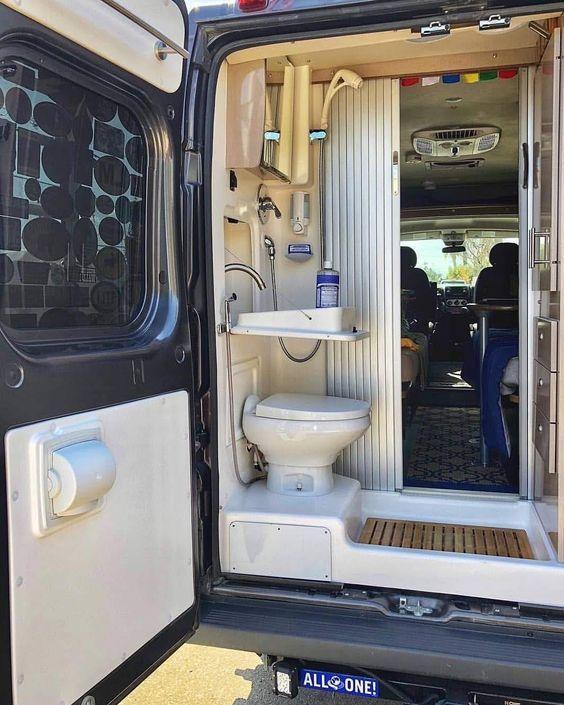
We chose a Sun-Mar composting toilet – they’re not cheap, but they’re incredibly easy to install and don’t require special plumbing in most cases.
When installed in our van, the toilet drains directly into an inlet in our water tank – no plumbing required!
Next up, decide if you want a shower or not. If not, skip ahead to “Installing plumbing in your floor” – this section will only apply to those with an installed shower pan.
If you do want a shower, choose which type of plumbing fixtures work best for your van and plumbing situation. We used the following plumbing items:
- A 55 gallon water tank – we have three 55 gallon tanks total serving all plumbing functions inside the van (for the black water tank, grey water tank, and potable water tank)
- Pair of 1/2″ brass barbed 90° street fittings – these are used for our fresh water connections (the two connectors on the side of the panel)
- Pair of 1/2″ brass barbed 45° street fittings – used for plumbing lines to the sink and shower
- P trap for plumbing connections under the shower
- Shower faucet with 1/2″ female hose bibb thread x male pipe thread connection
- A pair of metal straps with 1/2″ female hose bibb thread x male pipe thread holes (this is how our plumbing for the sinkdrains out of the van)
If you don’t choose a hydronic heating setup, then your water lines are pretty simple! Connect all plumbing fixtures directly to one or more plumbing lines inside your campervan. That’s it! If you do choose hydronic heating, read on below – things get complicated here!
Step 4: Install plumbing in your floor
This is where it gets a bit complicated – if you’ve got plumbing lines already run inside your van, installation should be pretty straightforward!
If not, we highly recommend going back to Step 1 and installing plumbing before doing anything else. You’ll find a lot of useful information on plumbing there too.
For plumbing under the sink/van floor, we used ABS water pipe along with 90° street elbows and 45° street elbows to direct our plumbing from the sink to our potable water tank.
The plan was originally for this drain to simply go straight into the potable water tank under the van.
Once we decided on adding hydronic heating though, that meant redoing all of these plumbing lines – more on that below.
For plumbing under the shower pan, we used ABS water pipe along with 90° street elbows and 45° street elbows to direct our plumbing from the shower faucet to our black water tank (at this point…).
We ran all of these plumbing lines before installing the shower pan so, unfortunately… it was not possible to use glued plumbing connections here – everything had to be screwed together instead.
For future builds though, just keep in mind that you need to plan ahead for plumbing with glued plumbing connections – especially around any shower pans.
Assemble your plumbing lines
The only tricky part is serging or using a metal staple gun to secure your plumbing lines inside the van. For plumbing under the sink, we drilled a hole in the floor and ran the plumbing line outside – this makes it easy to run plumbing lines through couplers or unscrew them when needed.
For plumbing for the shower, we installed additional interior paneling (to be water proofed later) on top of our existing paneling and then stapled plumbing lines in place behind that. You can see this extra paneling in some of our images above.
To attach plumbing fixtures to your van walls:
Use a metal strap with 1/2″ female hose bibb thread x male pipe thread holes and screw fittings onto your wall using appropriate size screws. This is probably best done with two people! First, mark where you want your plumbing fixture to be installed.
Take one of the metal straps and use a hole punch or drill to create a hole with the same size as the female hose bibb thread.
Then, line up the plumbing fixture where you want it with this mounting strap behind it.
Finally, screw everything together using appropriate screws for your van wall – do not over tighten! For our plumbing fixtures on our walls, we used #8-32 x 1/2″ flat head sheet metal screws.
To attach plumbing lines directly to your plumbing fixtures
When attaching plumbing lines directly to plumbing fixtures, you will need to use appropriate sized “street ells” in between your plumbing line and your plumbing fixture – this allows for optimal drainage out of these plumbing connections.
Use standard street ells with male threading on one end and female threading on the other end when connecting plumbing lines up to plumbing fixtures. Make sure you are using street ells that are long enough to attach plumbing lines to plumbing fixtures. We used 1/2″ street ells .
To connect plumbing lines directly to each other
When it comes time to connect plumbing lines together, we recommend using compression fittings whenever possible – this allowed us the flexibility of disconnecting plumbing lines later if needed without too much trouble.
For our plumbing lines under the van, we decided on using standard threaded ABS compression nut x female hose bibb thread with sizes correspondingly at 3/4″ , 1/2″, and 5/8″.
Later, for under our shower pan, we are planning on switching out these plumbing connections for glued plumbing connections that are better suited to be waterproofed – due to higher risk of water leaking in the plumbing area.
For plumbing lines that you want to be able to disconnect easily, we would recommend using threaded compression fittings instead of glued compression fittings – they will connect together much more easily and quickly for plumbing repair work or plumbing line modification needs.
For our plumbing lines under the van, we decided on using standard threaded ABS compression nut x female hose bibb thread with sizes correspondingly at 3/4″ , 1/2″, and 5/8″. We used these plumbing connections throughout our plumbing lines under our shower pan as well.
Using a larger diameter plumbing line at the shower head end is beneficial because it means less water velocity, which means less water hammering effect on the plumbing lines. You can do this simply by making sure that your shower head plumbing connection has a larger diameter plumbing line coming from above into it.
The obvious benefit is that you can get cleaner water or cleaner water with fewer pumps of the handle.
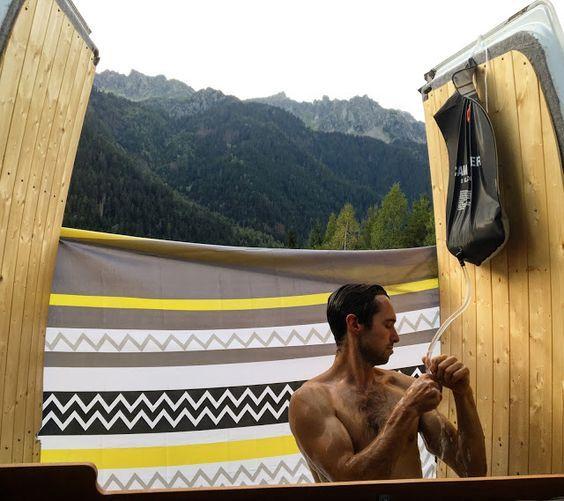
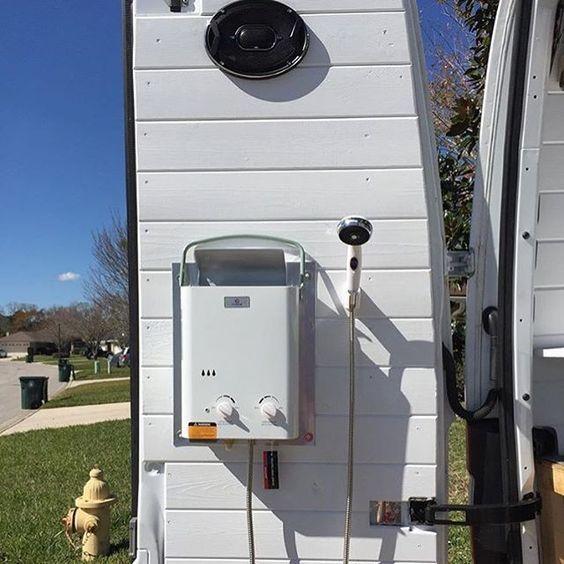
For our van shower, we installed a brush-style camper shower head that pulls clean water from outside of the van.
Where to get your pump: If your camper was equipped originally with one like ours (or similar), then you can likely find replacement parts by searching for it online (our specific pump manufacturer is “Camco”, but there are many other brands available).
If you did not have an original pump in your van, then you will need to purchase a new one. We recommend using solar-powered pumps so that they fill automatically when sun-powered and frequently when on battery power. When on battery power, solar-powered pumps require less power than a 50-watt bulb and can pump about 1 gallon per hour.
For our 12-volt pump setup: We used 1/2 inch steel tubing (the same stuff as your standard household plumbing) and metal piping to create the frame for our pressure tank.
To build it out like us, you could get creative with an old cooler or make a box to hold the pump and plumbing.
We used a camper-style pump that can handle up to 90 psi (most pumps cannot, so check before you buy). The pump we bought was a 12-volt direct-drive brushless motor type. It includes a pressure switch that automatically turns it on at around 55 psi and off at 80 psi.
Bathroom Plumbing & Shower Setup: – 10 gallon fresh water tank w/ outside shower
- 5 gallon waste water holding tank (inside van)
- pressure regulator on van’s fresh water intake
- 2 gallons per hour on demand gravity flow pump system for inside shower (allows you to conserve energy by using gravity instead of the pump to refill your tanks). This also means that you can’t use your roof or fresh water hose as an outside shower.
You will also need an “on/off” switch for your pump so you can conserve energy when the van is off.
How to install a ceiling shower head?
We bought our lights, faucets, and ceiling shower head from Amazon since they seem to have the highest quality products with the most reviews.
You can see what we bought by looking through our van tour video above (the light itself came with a socket converter that fits into most North American lamps).
Our water pressure regulator reduces 2 gallons per hour straight from the van’s fresh-water intake line. It is important to note that even if you aren’t living in a bus, having both hot and cold running water inside of your camper will make you feel like you’re living in a dream. 🙂
How to install an outlet in your van for your water pump?
We have the type of camper where our stove, hot water heater, and refrigerator are all-electric/propane powered so we didn’t need to run any electrical wires over to the shower area (although you could if you wanted). Here is our setup below.
- 1) First, you want to find out how much power your pump uses when on max-flow mode (ours uses up about 2 amps which means that it would draw 24 watts.)
- 2) Next, we recommend visiting this wattage calculator online and inputting the amount of energy that you will be drawing with your pump and then multiplying that by 1.5 (since most pumps won’t run all the time) to get your final wattage.
- 3) Once you know that number, then go out and purchase an electrical outlet that can support that wattage or higher.
- 4) After you have bought an outdoor box for your electricity, cut a hole in it big enough for your wires and your pump to fit through.
- 5) Then secure the electrical box so it isn’t going to move around or be blown away by high winds while driving.
- 6) Drill a small hole through the back of the van where you want to place your shower head (we recommend using silicone caulk on both sides of the drill hole just in case water ever does get into your van).
- 7) Finally, thread your shower hose through the hole and secure it so it doesn’t move around. Your electrical outlet should be close to this so you don’t have any extra long wires running across the van or anything like that.
- 8) Connect your pump to your electrical outlet using wire nuts and then connect the 2 together using a wire nut as well.
- 9) The last thing left to do is attach your shower head into the end of your hose! Make sure that the rubber o-rings are still intact on both sides of the threads before screwing them together otherwise you might develop small leaks over time (we learned this lesson through experience).
Also, make sure that all of your water connections are air tight, especially with something that will contain pressurized water (our pressure regulator had 2 rubber o-rings that we had to replace since they were worn down after 2 years of usage).
How to install your electric water pump?
It is important to note that some electrical outlets might be rated for less than the amount of power your water pressure system uses so you might have to purchase an outlet specifically designed for high power systems (ours was rated at 30 amps but our Camplux 2 Gallon/Hour Pump only draws 24 watts max.)
Our Camplux 2 Gallon/Hour Pump has a built-in pressure regulator so if you are choosing this specific one, then you won’t need any extra items like ours listed above.
However, most standard pumps will require an outside pressure regulator which prevents the water system from flowing at a rate that could damage your pump (which is especially important with high-powered systems like ours).
If you plan on installing an outside regulator, make sure to do the same as we did for ours and find out how much power it draws and multiply that by 1.5 so you know what size of electrical box you’ll need to purchase (just like we had above.)
How to use your new shower?
First, remove the lid from the hot water side and slowly turn on the cold water first, and then slowly add in some hot water until your desired temperature is reached. Then remember to turn off both taps after each use.
The last thing left to do is fill up the fresh-water tank so feel free to jump right in after you’ve filled it up and enjoy your new outdoor shower!
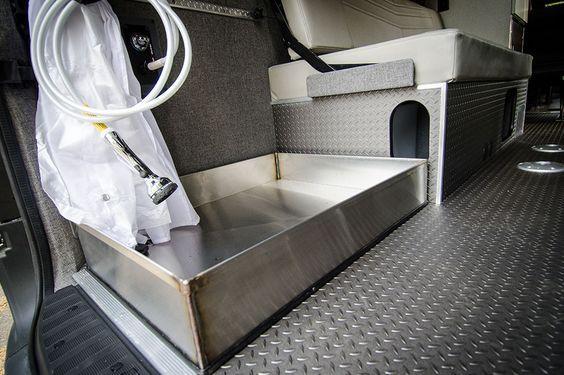
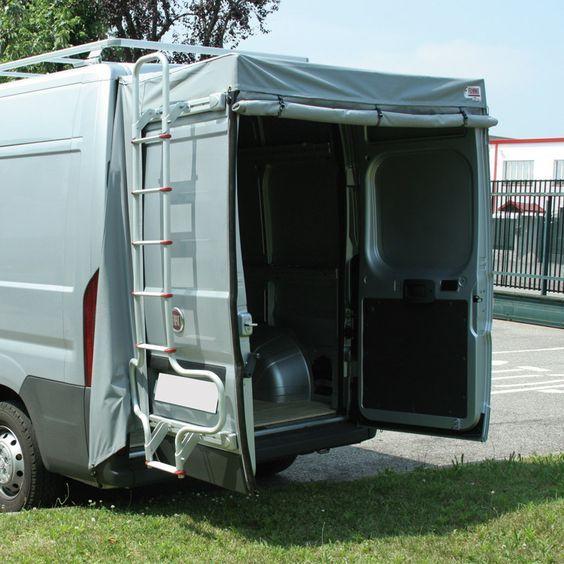
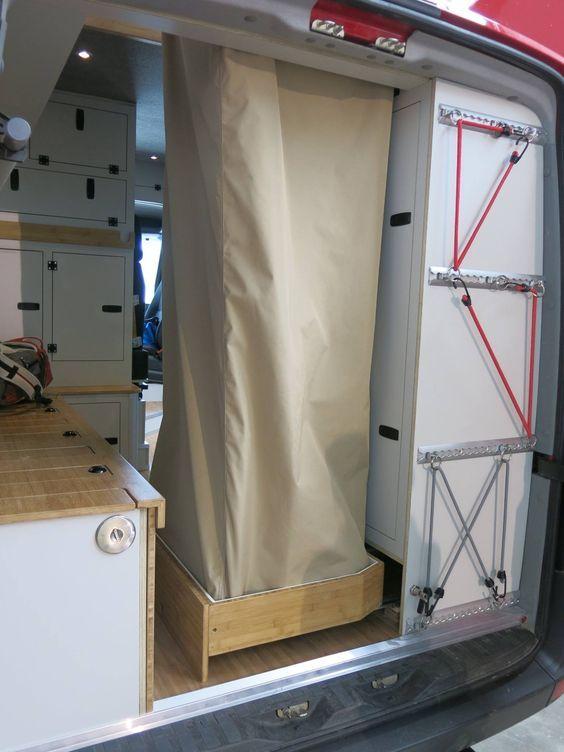
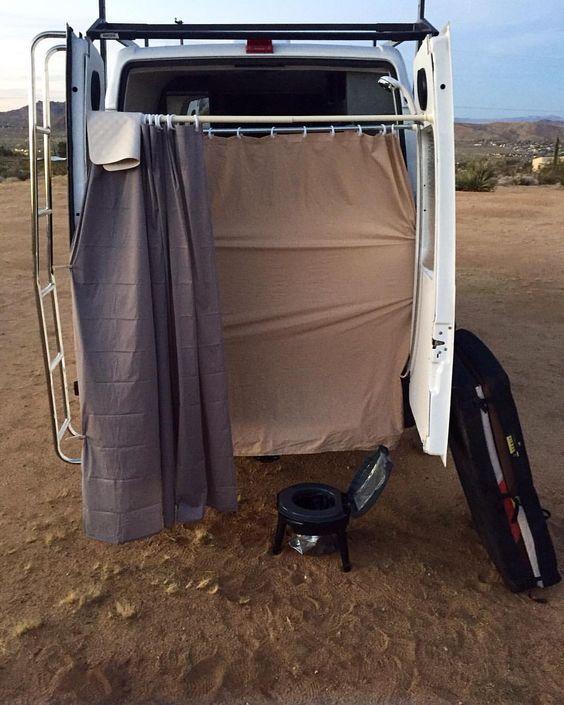
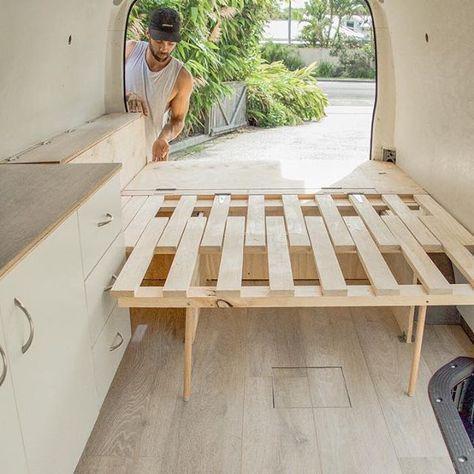
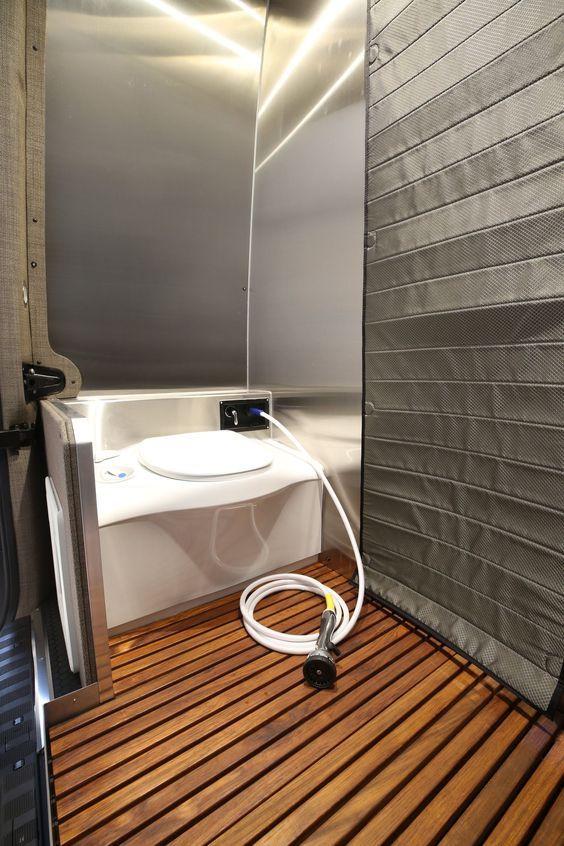
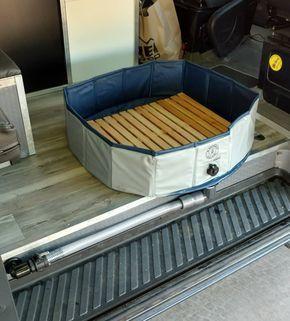
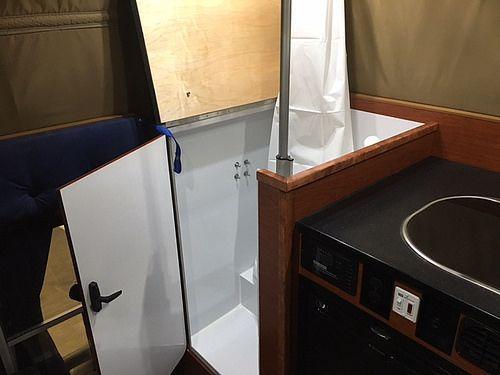
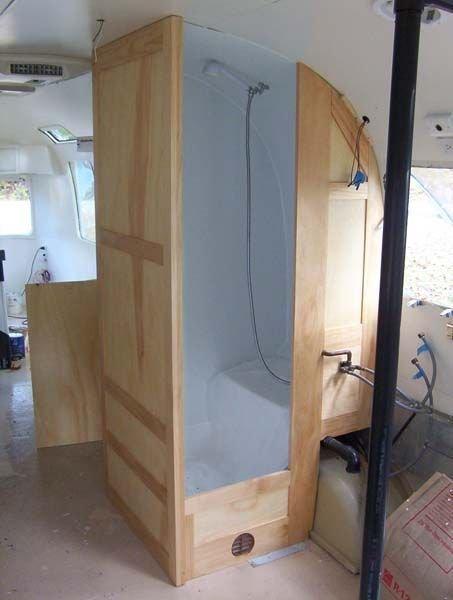
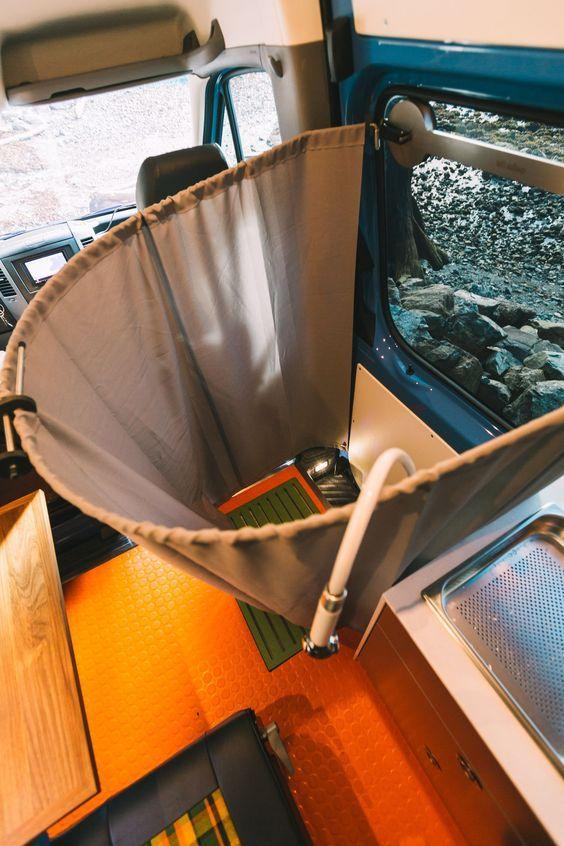
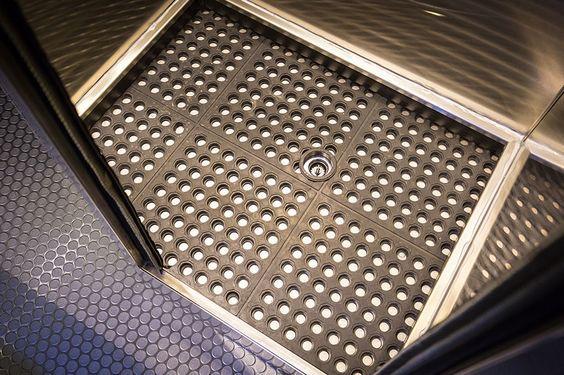
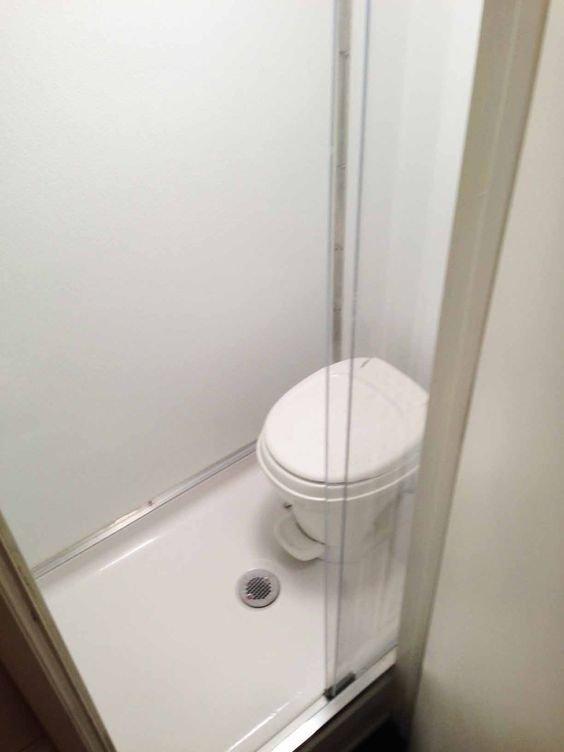
RV Bathrooms Gallery


Conclusion
Ah, the camper life. I’ve always wanted to do it myself, but for now, my bathroom is in a box on wheels that still needs love and care before she gets out there!
Hope this blog post helps give everyone some ideas on how they might add a full bathroom to their van.

I`m a current Law Enforcement Officer working within the Counterterrorism Bureau in New York State. I have been Camping for over 20 years. My styles of camping include tent, car, truck, van, and RV travel trailer. I have a YouTube channel where I teach all types of camping with an entertaining method: https://youtube.com/@TheSmallsRVAdventures


